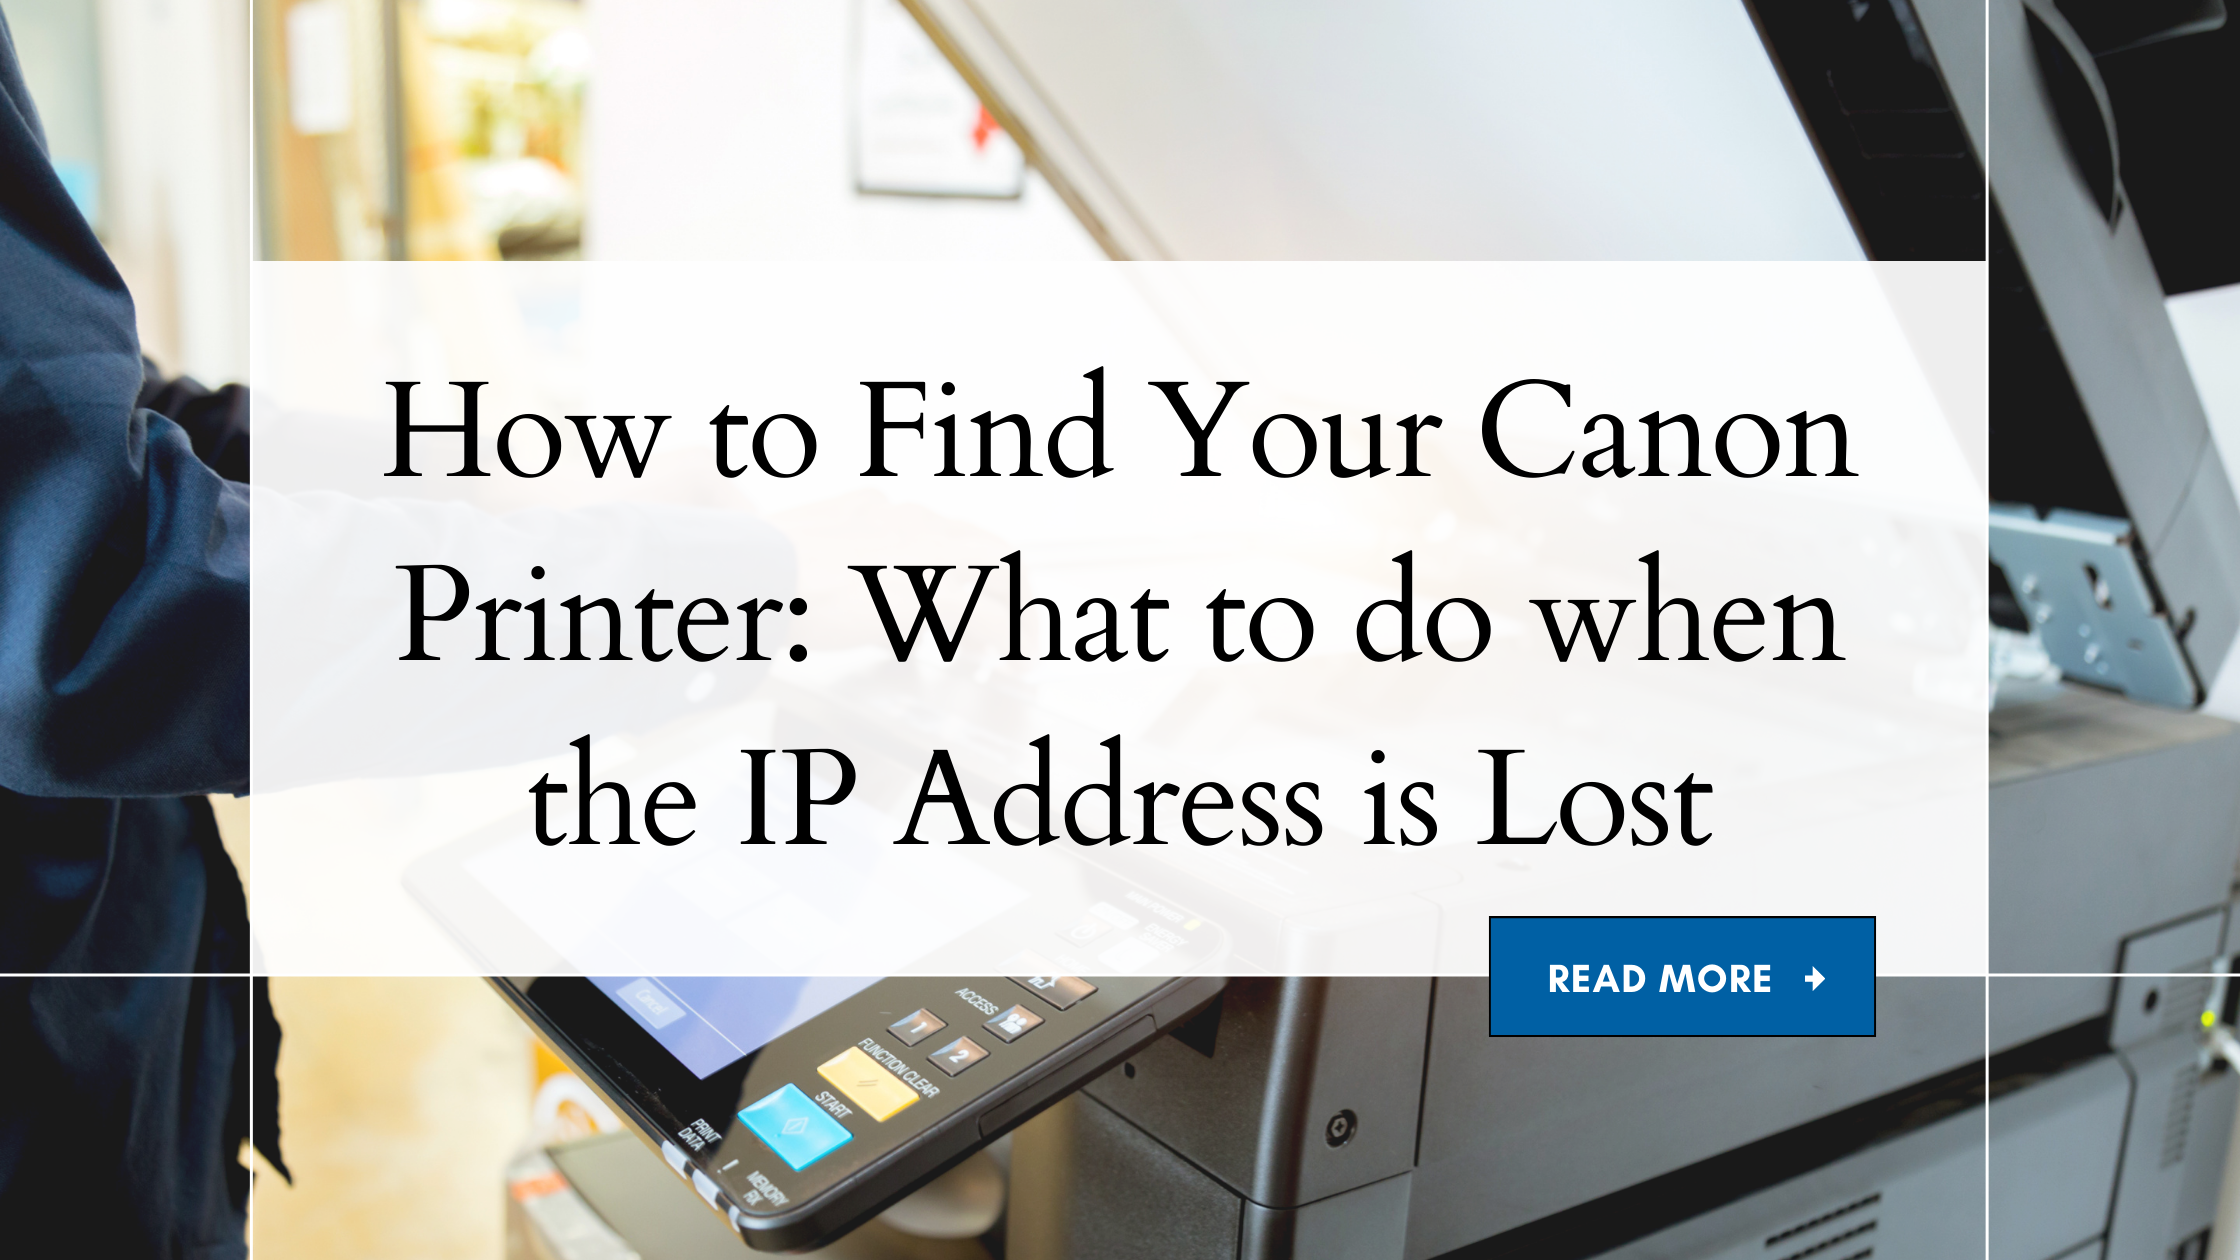
A common issue some people face is losing their printer. Fortunately, it’s not like losing a beloved pet where you have to paper the neighborhood with fliers urging the prompt return of Fido or Fluffy.
Instead, the problem is that you’ve lost communication with the printer on the network and now you need to re-establish the connection. This is due to a lot of techno mumbo-jumbo that no one wants to read about, but what you do want to know is how to fix it.
The instructions below apply specifically to Canon iPF printers. Epson printers use Epson Net Utility to find and communicate with the printer, so establishing the connection is easier. We’ll go through the process for HP and Epson printers in a future post.
So let’s get to it…
1. Go to the printer and make sure it’s turned on. Scroll to the right until you reach the Set/Adj Menu (Settings and Adjustments). Hit Okay (see Figure 1)

2. Next, browse through to the IP Address menu (Interface setup > TCP/IP > IPv4 > IPv4 Settings. See Figure 2)

3. Take note of the address listed on the IP Address screen. This number can vary from router to router, but it’s generally 192.168.001.XXX
4. Use the Back button until you return to the IPv4 Menu and enter the IPv4 Mode menu (see Figure 3); this should now be changed to Manual

5. Again, use the back button to return to the IPv4 Menu and browse again to the IP Address menu (IPv4 Settings > IP Address). This should have cleared itself to 000.000.000.000 and should be changed to the number you took note of in Step 3
6. When you are finished entering the IP Address, use the back button until it asks you to submit changes and select Yes
The next set of instructions takes you from the printer to your computer, and varies from Mac to PC…
PC
1. Click on the Start menu, and then Devices and Printers
2. Find your printer, right-click on it, then click Printer Properties (see Figure 4)

3. Navigate to the Ports tab and click Configure Port (see Figure 5)

4. In the Printer Name or IP Address field, enter the number you took note of in the previous Step 3, without the zeroes
5. For example, if the number you took note of on the printer reads 192.168.001.015, you would enter 192.168.1.15
6. Or, if the number you took note of on the printer reads 192.168.001.107, you would enter 192.168.1.107
7. Click the Okay button on the Configure Port screen, and then Okay on the printer properties and you are done
Mac
Remove and Re-Add the printer. There is another way to do this, but this is the easiest.
As always, if you have any questions or need additional help with this process (or just about any printing process), call a LexJet customer specialist at 800-453-9538.
Regan has been involved in the sign and wide format digital printing industries for the past two decades as an editor, writer and pundit. With a degree in journalism from the University of Houston, Regan has reported on the full evolution of the inkjet printing industry since the first digital printers began appearing on the scene.
