%20200-86.png?width=200&height=86&name=LexJet_PNG%20(1)%20200-86.png "LexJet")
18 min read
Graphics
Elements Portfolio
HP Media
HP Sign & Display
HP Latex R530
Canon Colorado M-Series
EFI Pro 16h plus
Canon XL-series
What's New at LexJet
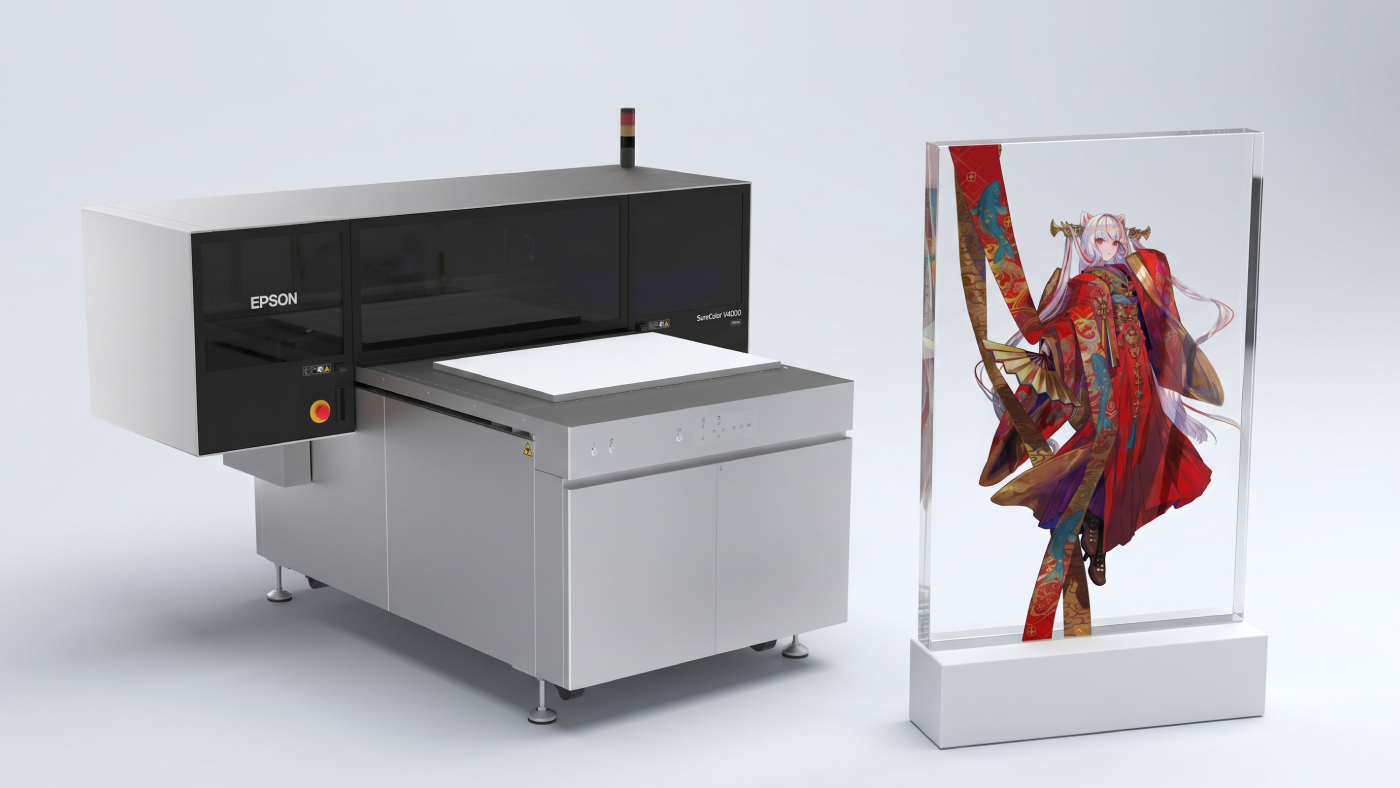
Epson New Printers
Duraluxe
Arlon
ISA Sign Expo
Summa F1612
Sign and Display Printers
ISA
ISA 2026
vendor booths
Epson S9170
ORAFOL
LexJet Booth #1301
signage industry
Day Three Inside ISA Sign Expo 2026: Highlights, Launches & Game-Changers
Loading more posts
No more posts to load
Browse Posts


- July 2026
- June 2026
- May 2026
- April 2026
- March 2026
- February 2026
- January 2026
- December 2025
- November 2025
- October 2025
- September 2025
- August 2025
- July 2025
- June 2025
- May 2025
- April 2025
- March 2025
- February 2025
- January 2025
- December 2024
- November 2024
- October 2024
- September 2024
- August 2024
- July 2024
- June 2024
- May 2024
- April 2024
- November 2023
- September 2023
- January 2023
- November 2022
- October 2022
- September 2022
- August 2022
- June 2022
- November 2021
- February 2020
- September 2019
- May 2019
- November 2018
- August 2018
- May 2018
- April 2018
- March 2018
- August 2017
- July 2017
- June 2017
- May 2017
- April 2017
- March 2017
- February 2017
- January 2017
- December 2016
- October 2016
- September 2016
- June 2016
- May 2016