A reprint costs more than the media and ink. It costs the production slot that job was supposed to fill, the operator hours spent troubleshooting instead of running the next job, and sometimes the client's confidence in your turnaround time. Many reprints trace back to a handful of decisions made before the print job ever starts, not equipment failure. Here are seven places production teams can tighten up the process and see fewer jobs come back.
1. Start With the End Application, Not the Printer Settings
It's tempting to load whatever media is already on the printer and adjust settings from there. That sequence causes problems downstream. A banner that will hang outdoors for three months has different requirements than a short-term indoor retail graphic, and those requirements should drive media selection first, printer setup second.
Outdoor durability, expected viewing distance, lamination needs, and finishing method all narrow down which substrate makes sense for the job. Once the application is defined, the right print media selection becomes a much shorter list, and the printer settings follow from there rather than the other way around.
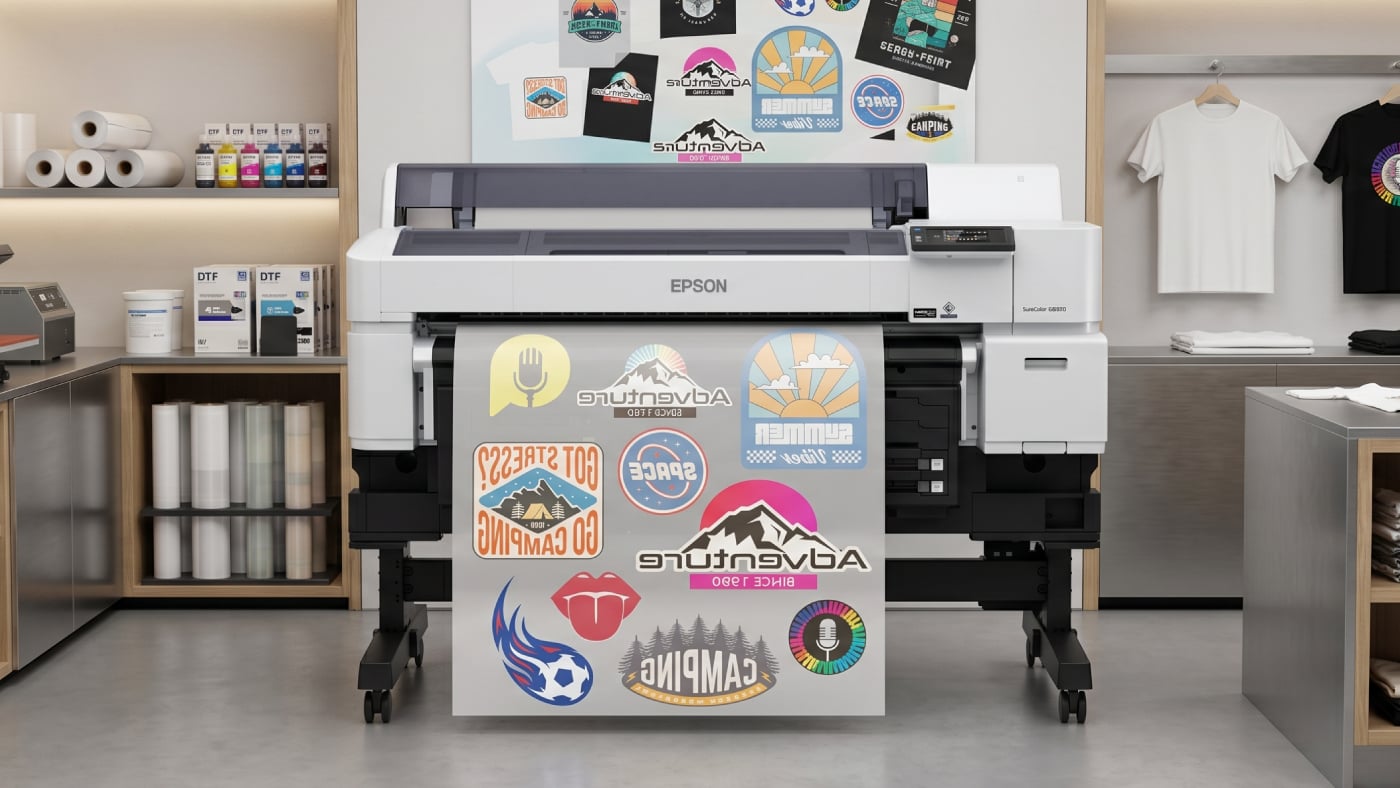
2. Match Media, Ink, and Printer Technology
Print quality problems often stem from a mismatch among the media, the ink set, and the printer's intended use, even when each component works well on its own. Latex inks, solvent inks, and UV-curable inks each bond differently to different substrate coatings, and a media that performs well with one ink type can show adhesion issues, color shifts, or curing problems with another.
Three common mismatches account for most of the support calls:
● Uncoated or incorrectly coated media used with inks that need a receptive coating layer can lead to poor ink adhesion and smearing
● Heat-sensitive films run through printers with high curing temperatures can warp or shrink after printing
● Specialty media like backlit films or textiles often need ink and printer combinations explicitly rated for them, not just compatible in a general sense
Checking media specifications against the printer-and-ink combination before a job starts, rather than after a problem appears, prevents the most common cause of this issue.
3. Use ICC Profiles Consistently
ICC profiles map how a specific printer, ink, and media combination renders color, and skipping or reusing profiles across different media is one of the most common sources of color inconsistency. A profile built for matte polypropylene won't produce accurate results on cast vinyl, even if both are loaded with the same ink set.
Profiling matters most when repeatability is the goal: a client running the same campaign across multiple locations expects the colors to match from print to print, and that consistency depends on using the correct profile for each media every time, not just on the first run. Operators switching media frequently benefit from keeping profiles organized and clearly labeled, so the right one gets selected without guesswork under deadline pressure.
Profiles also need to be updated when ink formulations change or when a printer undergoes significant maintenance, such as printhead replacement, since either can shift how color renders even with the same media.
4. Control Environmental Conditions
Print quality issues that appear to be equipment problems are sometimes environmental. Humidity, temperature, and curing or drying conditions all affect how ink sits on media and how a substrate behaves during and after printing.
High humidity can cause some media to absorb moisture and expand slightly, leading to banding or registration issues on long runs. Low humidity increases static, which causes media feed problems and attracts dust, resulting in print defects. Temperature swings in the production area affect ink viscosity and curing time, particularly for UV and latex inks that rely on consistent heat for proper curing.
Drying time matters as much as curing temperature. Prints that are stacked, laminated, or finished before they're fully cured or dried can show ink transfer, tackiness, or color shifts that weren't visible right off the printer. Building drying and curing time into the production schedule, rather than treating it as a buffer that gets cut when deadlines tighten, prevents a category of defects that often doesn't appear until the finishing stage.
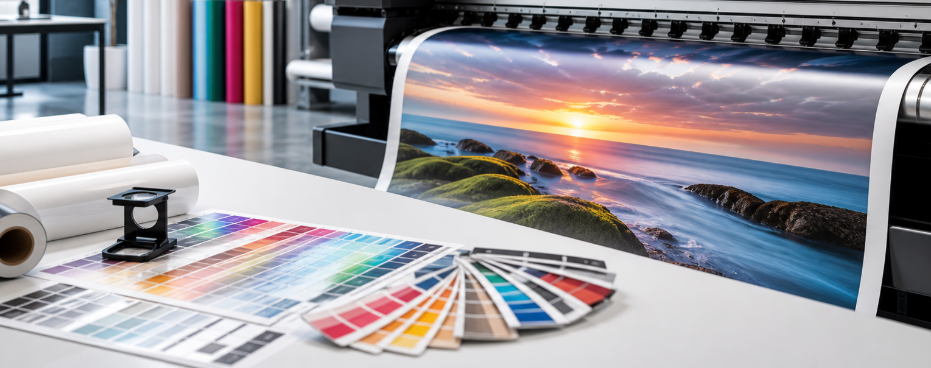
5. Reduce Waste With Small Test Prints
Running a full-size proof before committing to a production run feels like it slows things down. But a test strip on the actual media costs a fraction of a square foot and a few minutes of machine time, and it catches color drift, banding, and media-specific issues before they show up on a 10-foot banner. A full reprint costs the original media and ink, the machine time to run it again, and whatever job was scheduled in that slot.
Test prints earn their cost back fastest on jobs with tight color requirements, new media the shop hasn't run before, large-format jobs where a full reprint is expensive in both material and time, and any job where the client has flagged exact color matching as a requirement. For short, low-stakes jobs on familiar media, a full proof may not be necessary every time, but skipping it entirely on new combinations is where waste tends to accumulate.
A test print strip that includes color bars, fine text, and a sample of any gradients in the actual file gives operators a more useful read than a blank color swatch, since it surfaces resolution and color space issues alongside color accuracy.
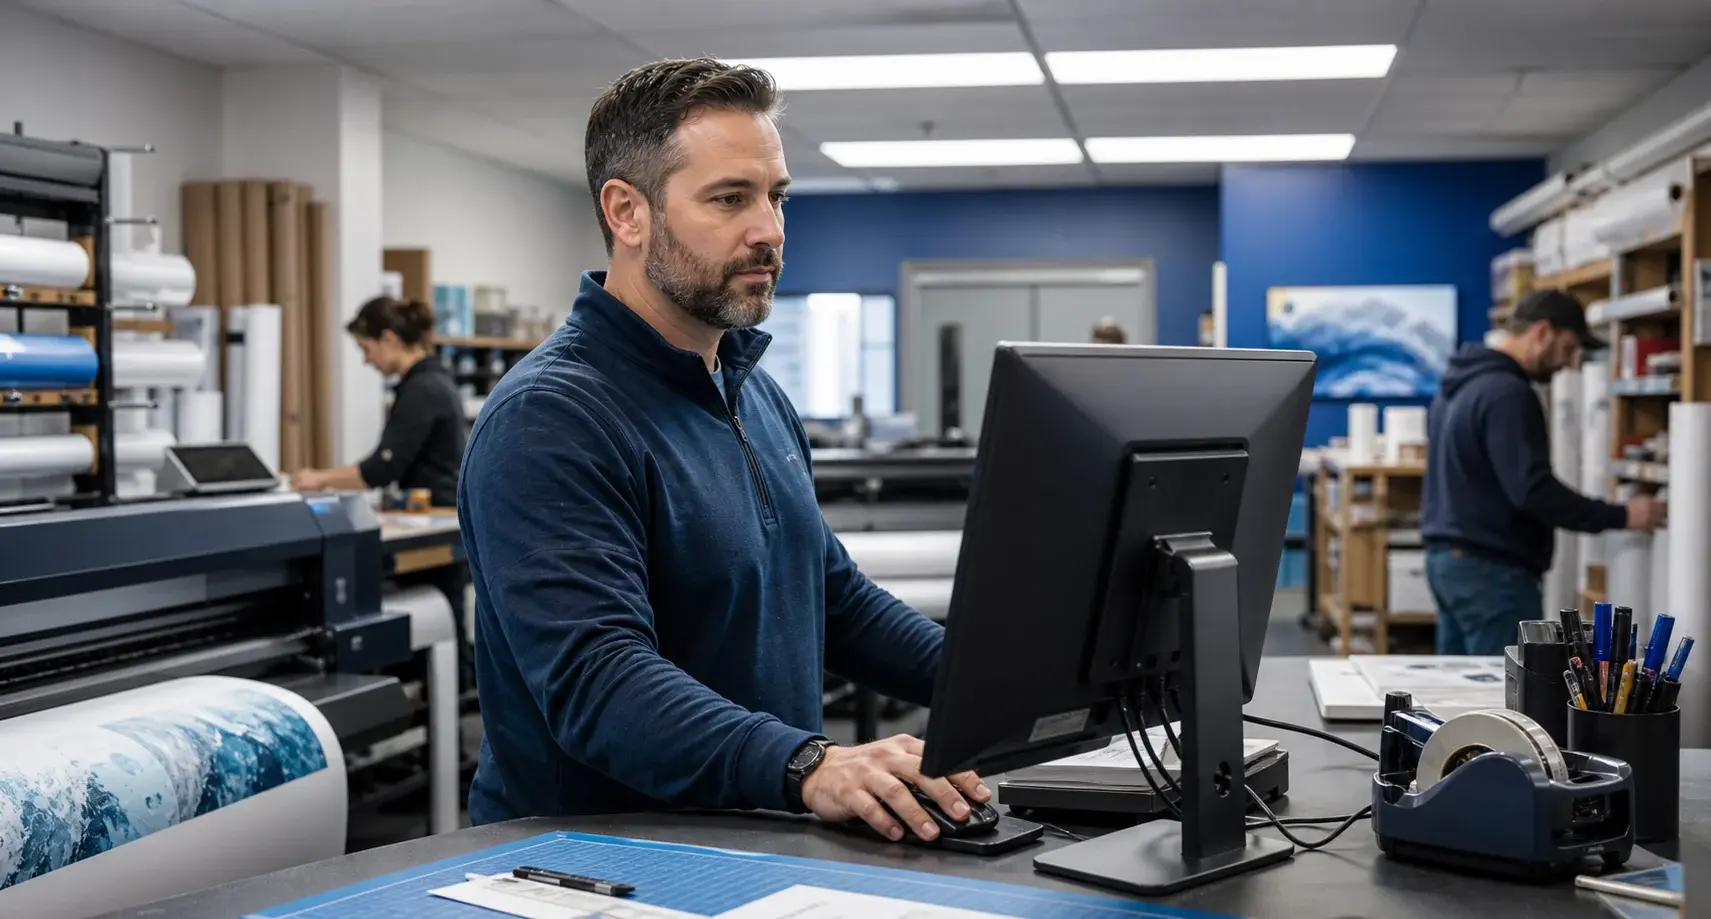
6. Build Standard Production Workflows
Reprints often cluster around jobs that didn't follow a consistent process, whether that's a rush job that skipped a profiling step or a new operator who wasn't aware of a media-specific setting. Documented, standardized workflows reduce that variability.
A useful production workflow covers file preflight checks, media and profile selection tied to job type, printer settings for common substrate categories, and a finishing checklist matched to the application. When this is written down and accessible at the production station, rather than held as institutional knowledge by one or two experienced operators, quality is more consistent across shifts and across staffing changes.
Standardization also makes it easier to diagnose problems when they do occur. If every job follows the same steps, an unexpected result points more directly to what changed, whether that's a new media batch, an ink cartridge, or an environmental shift, rather than leaving the cause buried in a process that varies job to job.
7. Quality Issues That Often Start Before Printing
Some of the most common large-format print problems have nothing to do with the printer. They're already present in the file by the time it reaches the RIP.
Resolution is the most frequent culprit. A file built at 72 or 150 DPI might look fine on screen but show visible pixelation at full size, especially at the viewing distances typical of banners and wall graphics. Production teams benefit from confirming resolution against final output size and intended viewing distance before a file goes to print, not after a proof comes back soft.
Color space mismatches cause a different kind of problem. Files built in RGB will get converted to the printer's color space at some point in the workflow, and if that conversion happens unpredictably (in the design software, in the RIP, or somewhere in between), the result is color that doesn't match what the designer approved. Establishing where in the workflow color conversion occurs and ensuring files arrive in the expected color space removes a layer of inconsistency that's difficult to troubleshoot once a job is printed.
Other file-side issues, like missing fonts, low-resolution placed images, or incorrect bleed and trim settings, tend to surface during finishing rather than printing, which makes them more expensive to catch late. A prepress checklist that confirms resolution, color space, fonts, and dimensions before a file reaches the printer catches most of these issues at the cheapest possible point in the process.
Most of these tips point toward the same idea: decisions made before the print run, whether about media, color management, environment, or the file itself, have more influence over the final result than adjustments made during printing. A large-format printer performs as well as the workflow built around it, and tightening that workflow is often where quality improvements come from.
%20200-86.png?width=200&height=86&name=LexJet_PNG%20(1)%20200-86.png "LexJet")


-4.png)

Post a comment