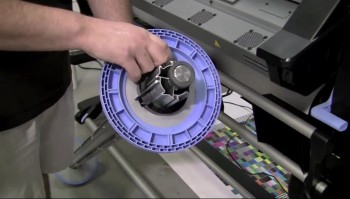
How to Load and Unload the HP L26500 Take-up Reel

How to load and unload substrates on the HP L26500The HP L26500 requires operators to use a loop shaper when using the take-up reel. When using the take-up reel with flexible substrates like fabric, mesh, or banner, the heavy metal loop shaper should be employed. When using the take-up reel with other substrates, the plastic loop shaper should be used.

In the videos embedded below, learn how to load and unload the L26500’s take-up reel when using the heavy loop shaper. The process for using the light plastic loop shaper is the same as the L25500 and that video can be seen here.

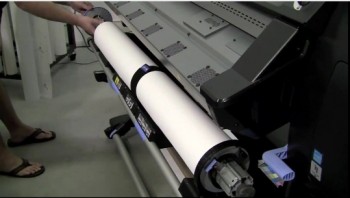
Loading a Substrate on the HP L26500 Latex Printer

How to load media onto HP latex printersWith the HP L26500, there are two main ways that a substrate can be loaded. When loading a typical substrate, the process is similar to other HP wide format inkjet printers and identical to the HP L25500.

However, a new way to load flexible substrates like fabric, mesh, or banner material is to use the media loading accessory that comes with the printer. This accessory makes loading these substrates much easier and helps to reduce misfeeding these materials.

In the videos embedded below, learn how to load a substrate into the L25500 using the traditional method and with the loading accessory. Stay tuned for more videos about the L26500 in the coming weeks…

How To Video: Streamlining Workflow with Onyx Software Plug In

Software for sign and banner production workflowIf you’re looking for a tool to help eliminate production bottlenecks, SmartApps Sign & Banner Pro from Onyx is a plug-in for Adobe Illustrator that helps users streamline the sign and banner workflow. With Sign and Banner Pro you can:

  • Set up grommet/eyelet and fold marks for fast banner finishing
  • Set up bleeds beyond Adobe Illustrator’s limitations
  • Create banners with all finishing marks to scale

In the videos embedded below you can learn more about the benefits of Sign and Banner plug-in and how to use it…

HP L25500 Latex Printer and Onyx X10: Troubleshooting Ink Smudges

How to troubleshoot HP latex printerThe HP L25500 dry and cure heat settings are two key components in the printing process of this latex printer. A heat setting that is too high might cause thermal marks to appear on the substrate as vertical bands in some colors or it may wrinkle the material, also causing vertical banding or defects like bubbles to appear. Using the correct ICC profile with the proper heat settings is extremely important in getting a quality print and avoiding reprints and wasted material.

One of the more common troubleshooting issues that we have seen with the L25500 has to do with the smudging of ink and is typically caused by a curing temperature that was set too low. If after printing you are able to smudge the ink on the entire print, you will need to increase the curing temperature in five-degree increments. If you are only able to smudge ink on the first eight inches of a print, only the warm-up curing temperature will need to be adjusted.

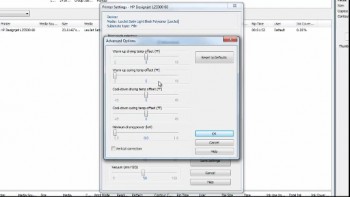
In the videos embedded below, learn how to adjust the curing temperature and warm-up curing and drying temperature offset in Onyx X10 to fix ink smudging issues.

Video: How to Export Media Profiles in Onyx X10

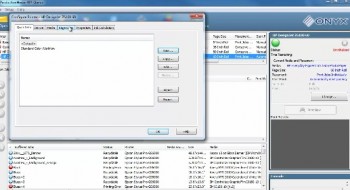
How to export media profiles for the Onyx RIPExporting media profiles in Onyx X10 is a good option to back up your profiles externally or to transfer the profiles to a new computer. Rather than having to search for the profiles and then downloading them, save time by exporting your profiles and simply install them from the backup copy when needed.

In the video embedded below, learn how to export Media Profiles in Onyx X10…

Tiling an Image in Onyx X10

How to tile images for wide format printing

It doesn’t matter how big your printer is. Eventually, you get a job that’s too wide to fit on a given roll of media. That’s where tiling comes in.

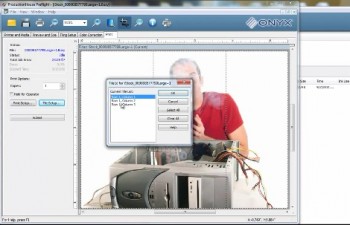
Tiling separates a job into two or more pieces so you can print an image that is larger than your media size or break an image into specific sizes for display or mounting purposes. Perhaps the job needs to fit into store-front window frames, or you’re wrapping a vehicle, or maybe you want to use tiling just to keep the installation manageable.

In the video embedded below, learn how to tile an image in Onyx X10.

If you have any questions about Onyx X10 or tiling an image, please contact a LexJet customer specialist at 800-453-9538.