The Front Porch Sessions – Photographers Get Creative in the Wake of COVID-19

Photographers by nature, are “people” people, and when sheltering in place and social distancing guidelines went into effect in March, they were among the many who were temporarily out of business. It was no different for Elise Wicklund, and her husband Tracy, of Wicklund Photography in Parrish, Fla. “It virtually stopped our business,” Wicklund says. “In an instant, we had to clear our calendars.”

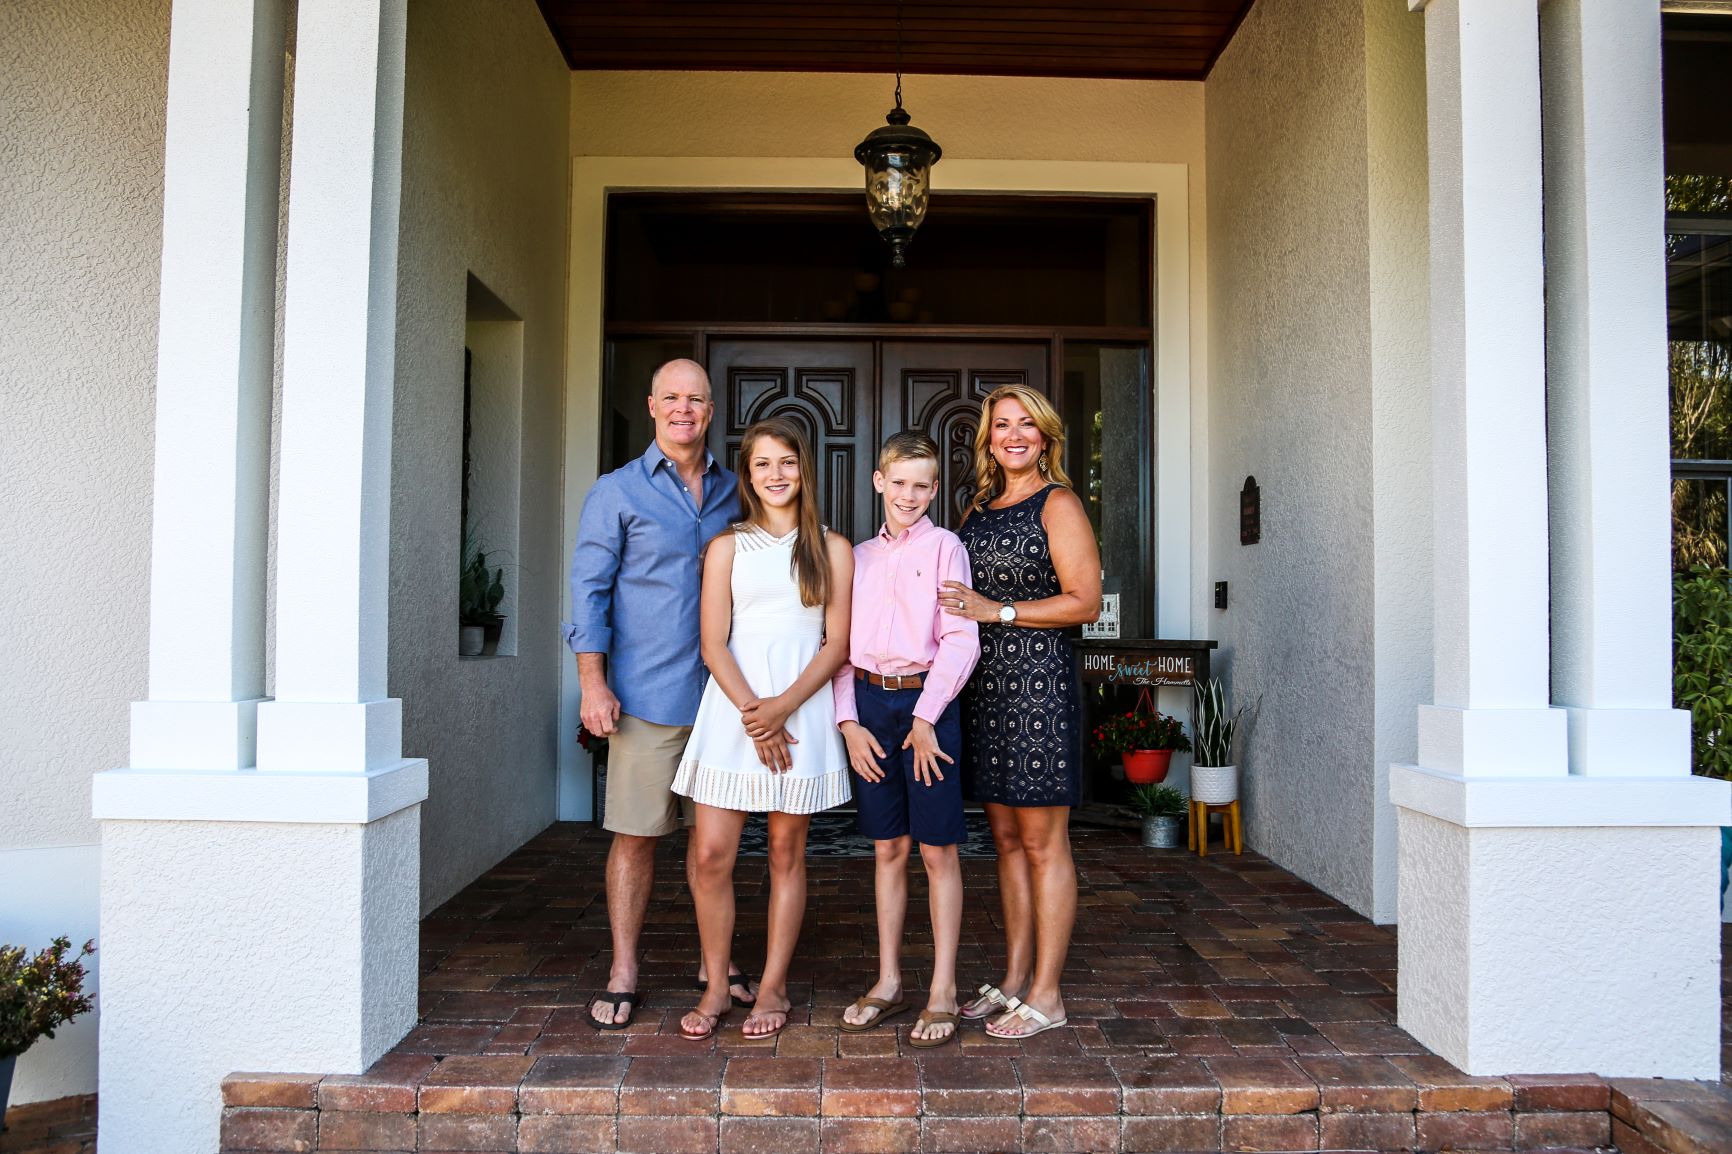
With so many cancellations – and they were cancellations and not reschedules – the Wicklunds had to get creative and come up with something different to capture this historic moment of the worldwide pandemic. “We considered education, but we know we aren’t teachers,” she says. “We are photographers, so our reaction was to come up with different types of sessions.”

That’s when Wicklund got the idea for the “Front Porch Sessions”. She reached out to neighbors and clients to see if they were interested in doing family portraits on their porches. The popularity of the sessions exploded, and they booked all the sessions they had available. “We decided to let families document this part of their lives, just like they would any other – birthday parties, graduations, pandemics – if we don’t take photographs of these times, we won’t have anything but memories, and memories fade with time,” Wicklund says. “That’s why we photograph, so we figured this is just another memory to photograph.”

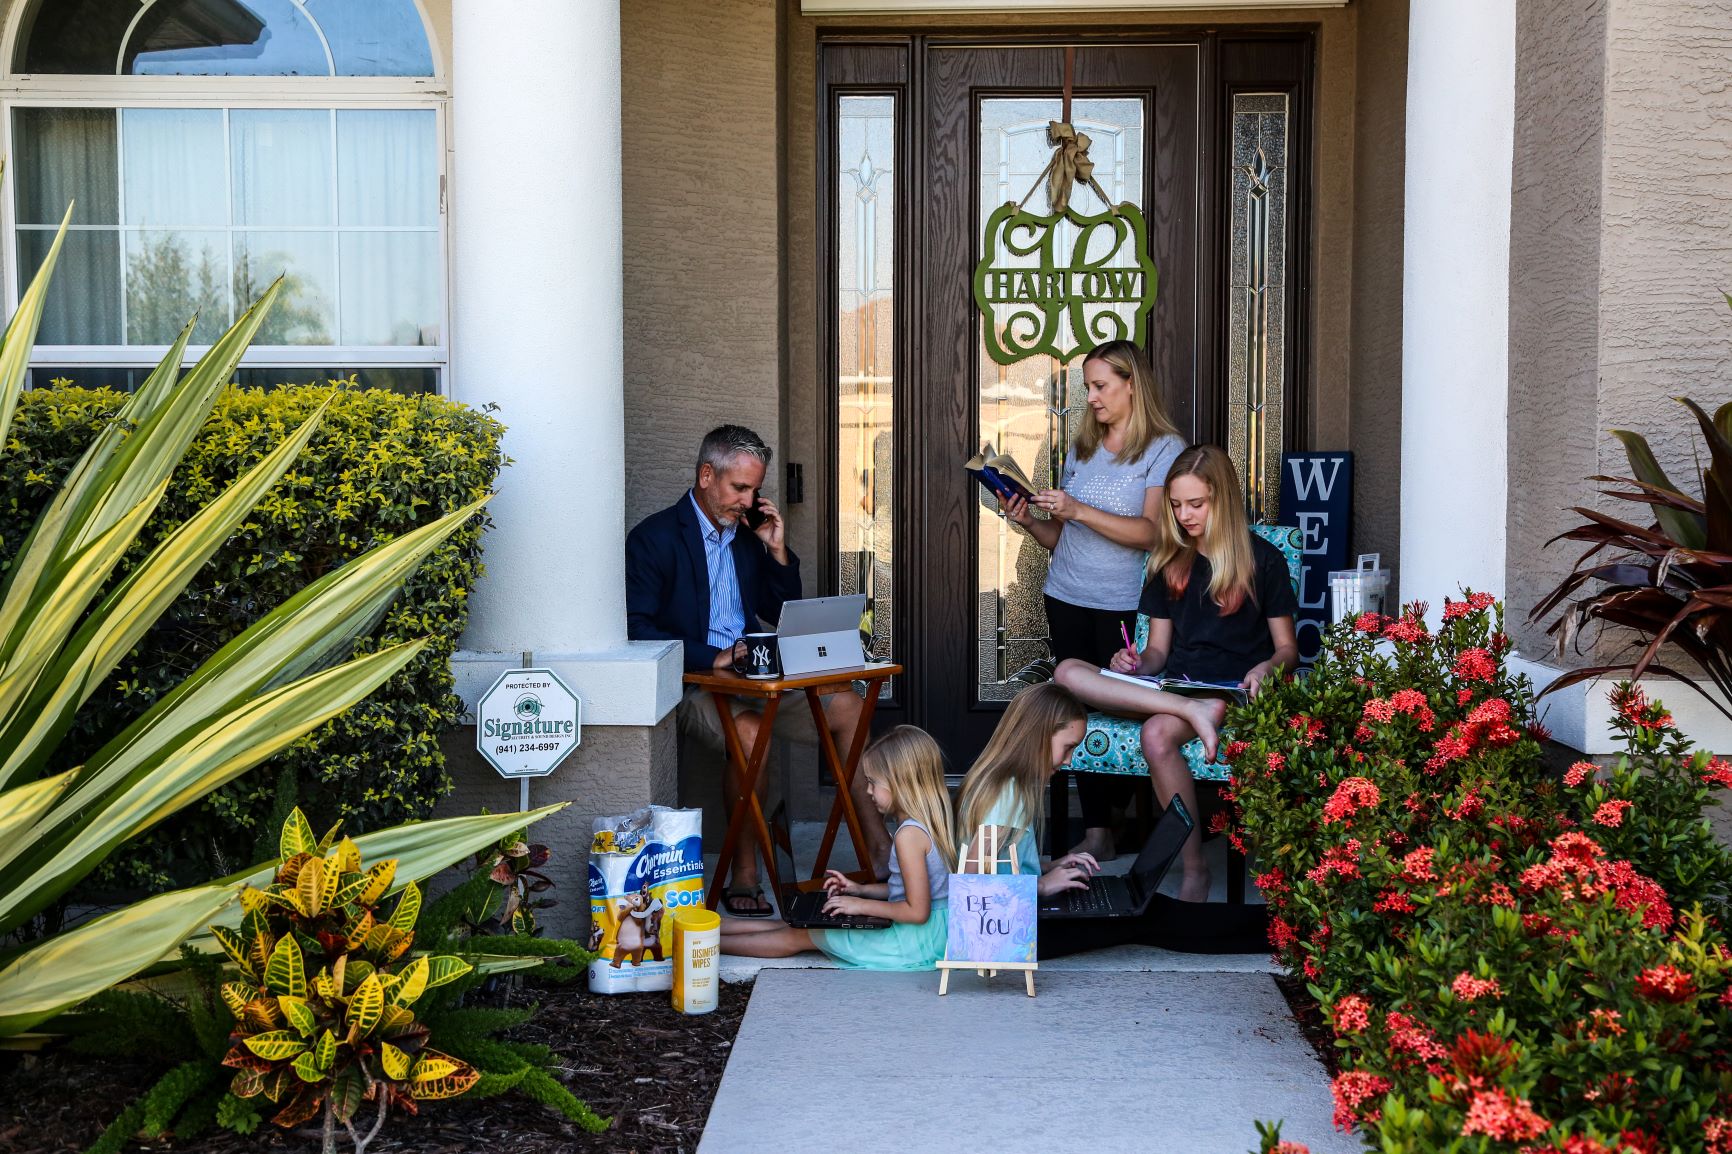
The sessions proved to be a great outlet for many of the families and some of them proved it with their sessions. While some families took a serious approach, Wicklund says others had fun with it. “Everyone had been cooped up inside their homes,” she says. “The sessions were whatever the families needed – some took them very seriously; others had a ton of fun.  We didn’t care or direct that part.  We were there to document and serve our families.”

While they enjoyed chronicling the pandemic through these sessions, the Wicklunds did not charge their clients for these sittings. “We still weren’t officially allowed to operate, so in lieu of session fees, we took donations for the food bank,” she says. “Our brand is all about servicing our clients and we believe if we have a servant’s heart, our brand will succeed.” Photographers who are doing charitable work, like Elise and Tracy, may consider printing on LexJet 8 Mil Production Satin Photo Paper, an economic solution that offers a wide color gamut and gives photos a natural look with minimal glare.

As the state of Florida has slowly begun reopening, Wicklund says they are starting to see more interest in regular sessions. They’ve also reached out to past clients, especially wedding clients, about design services for albums or videos that were not purchased at the time of the event. “We’ve reached out to see if people want to pre-book their sessions once isolation orders are lifted,” she says.

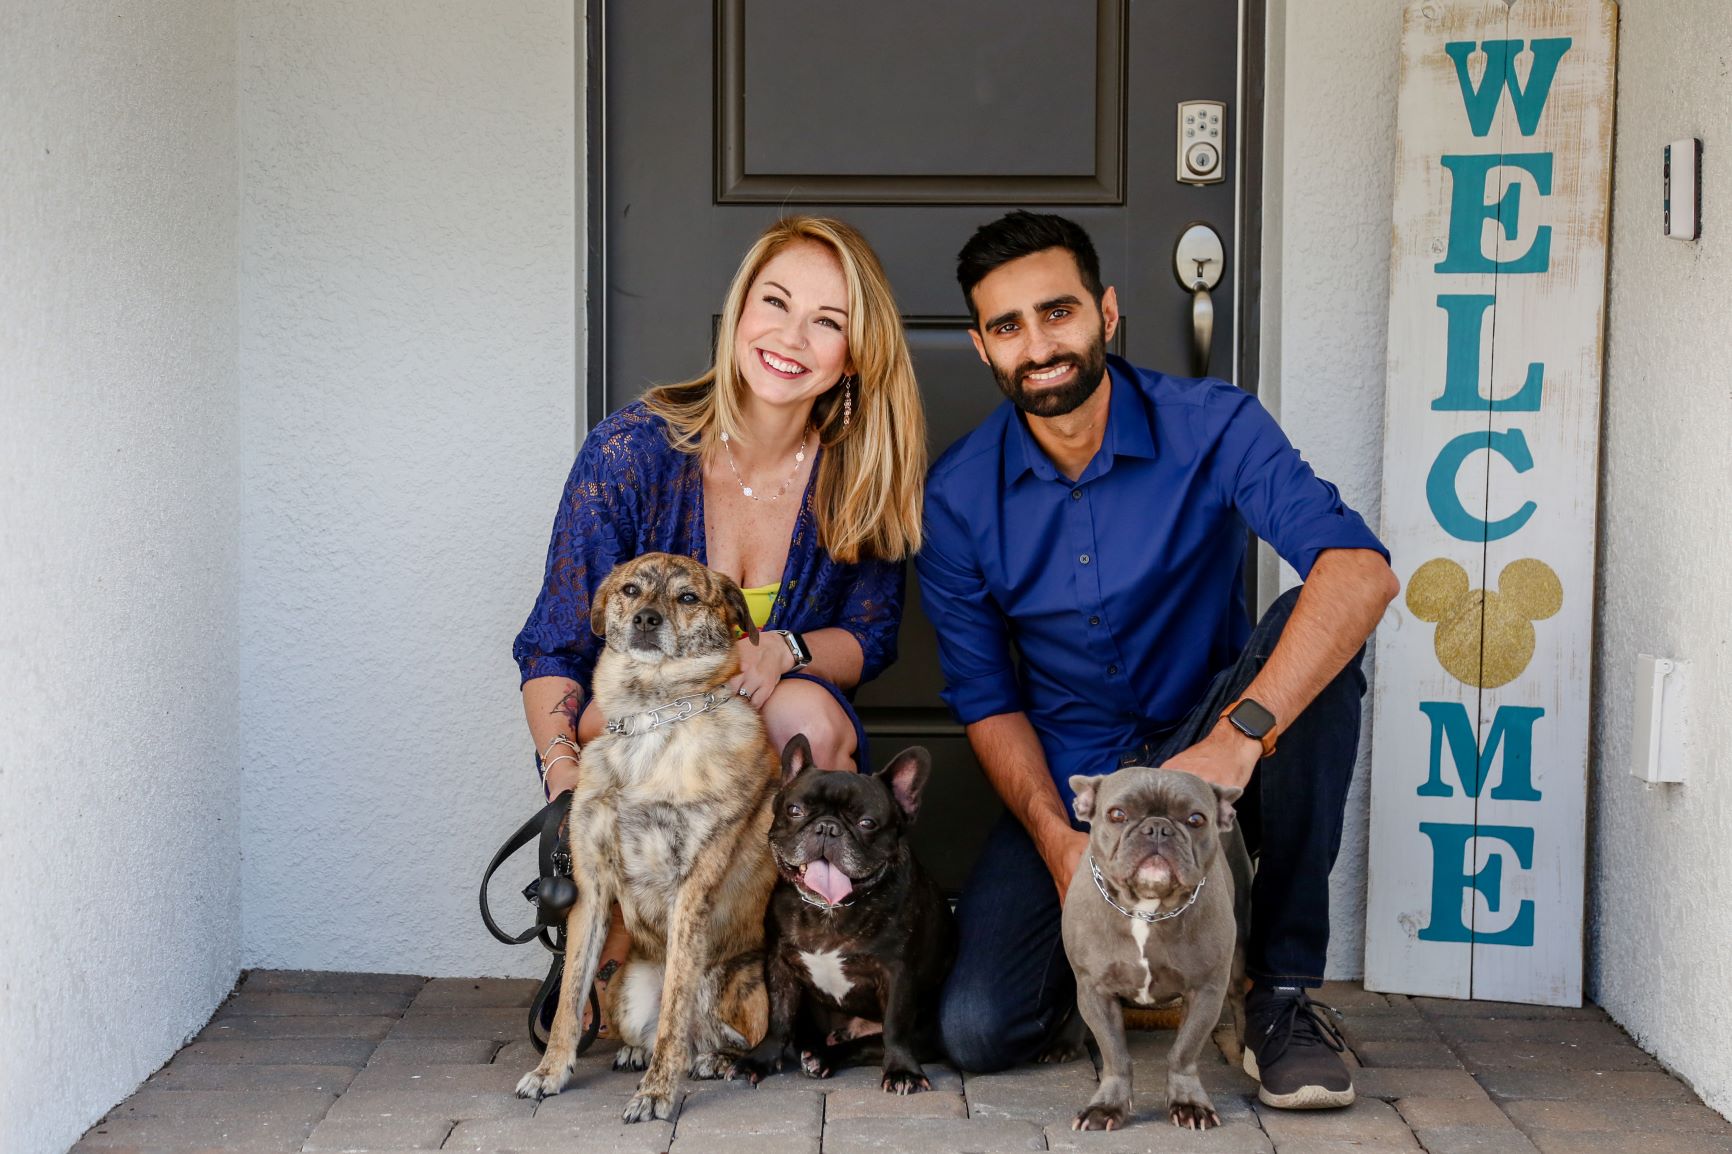
Looking at the future, Wicklund says she’s not opposed to scheduling more porch sessions, even after things return to normal, but it comes down to helping their clients get the most out of the sessions. “If this hits again, we will probably offer them again,” she says. “There’s no real reason to only offer those sessions, but it might be fun to see how things have changed in a year.”

As with most “people” people, photographers will certainly be happy to get back to weddings, graduation, and newborn sessions, but in the meantime, they are looking to get creative like Elise and Tracy Wicklund. However, as we approach the second half of the year, Wicklund is cautious about what’s on the horizon. “Based on how 2020 has gone so far, there’s no telling what we will be photographing this time next year!”

3 Ways to Create Statement Art with Your Images

Looking for new ways to add creativity to your printed images? You can create one-of-a-kind pieces of art with a few creative choices. If you are using an aqueous printer, here are three tips to delight your clients and finish your photos with flare:

GIVE THEM AN EDGE. Three-time Sunset Print Award winner Kimberly Smith loves the Sunset Bright Velvet Rag, which she uses to distress the edges of some of her fine art prints. “The thickness [of the paper] means the tears on the edges are perfect for a soft, multi-layered look,” she says.

WRAP IT UP. Another way to impress clients is to turn their photos into wall art. Printing on Sunset Select Matte Canvas and wrapping it with the easy-to-use GOframe system creates a final image that is worthy of hanging in any museum.

ADD SOME SHINE. To bring a little extra shine to your images, try printing on Sunset Photo Metallic Paper. Aluminum prints are increasing in popularity, but if you don’t have access to dye-sub equipment, you can get a similar effect with the metallic photo paper. It’s a cost-effect alternative solution that is compatible with aqueous printers. The metallic paper can also be printed and face-mounted to acrylic, using a clear permanent adhesive, to create a unique piece of statement art.

If you are looking for new opportunities with your clients, contact a LexJet sales specialist at 800-453-9538.

Visit Our Redesigned Sunset Print Awards Website

The next time you log on to the Sunset Print Awards website, you’ll notice some changes. The sleek new appearance makes it easier for photographers to learn about the prestigious Sunset Print Awards as well as local print competitions offering the award.

Other updates include:

  • Easier navigation
  • Better views of past winners
  • Easy access to the blog for all the latest Sunset news
  • Interviews with winners
  • Recommended Sunset branded media

What hasn’t changed are the benefits to district and local winners or the top three prizes awarded at the International Photographic Competition. Each winner receives a customized crystal trophy, a lapel pin, and a free pack or roll of Sunset Media, while the three IPC finalists receive engraved trophies and cash prizes.

If you are involved in a local PPA group, camera club or other photography organization that has a minimum of 150 printed entries and would like to include the Sunset Print Award in your competition, have your chairperson register today.

This year, we will be presenting awards to the 2019 IPC winners at Imaging USA in Nashville. If you are attending later this month, be sure to stop by the IPC Display and pick up some information about the 2020 Sunset Print Awards.

Get to Know the Installation Location Before Shooting for Large-Format

Guest blog by Billy Elkins

Billy Elkins

In my last blog, I wrote about communication and went over the five-part process for photographing for large-format printing. Let’s look more specifically at scouting the final installation location. This is the part that is usually the most intimidating for photographers who are not used to photographing for large-format.

Often it is not a simple single surface. In fact, most of the time, the location is more complicated. As the photographer, we normally do not have access to the location of the installation so knowing as many details about the location as possible is important when capturing the image. The previous example from the Sarasota International Airport illustrates that perfectly.

Riverwalk image after final installation at the Sarasota Airport

The image for the airport had to be installed on the back wall directly behind the baggage claim area. This presented a few challenges because of the actual baggage claim window, a large advertising display screen, a column in the middle of the wall and the actual baggage claim conveyor belt system.

Like any other large format photography project, having a photograph of the installation location is useful for conceptually trying to decide how to capture the right image and from the right angle and the right size.

Understanding the location of the final image applies to all large-format photography projects. If you consider vehicle wraps, wall murals or trade show displays, they all have their own installation challenges that, as the image maker, we need to be aware of for the best results.

For this next example project, I was commissioned by LexJet to create an image for their “Carnival” themed trade show booth. The booth itself was 50-feet wide, and they wanted the photo to be the whole backdrop. The installation would be printed on LexJet Simple Flo Wrap Vinyl, and then installed on the back wall of the trade show exhibition floor.

The final image size ended up being 50-feet wide by 25-feet high. This was huge! When you entered the trade show floor, you could see the “Carnival” in the background and could smell the popcorn from the booth. I worked directly with the marketing team to create different versions of the background so they could integrate the best option with the rest of the booth design.

The fair image installed behind the LexJet trade show booth.

So how did we do it? We visited the Florida State Fair and spent most of the day capturing different scenes that were potential backdrops. I brought my full bag of lenses, and we decided on a focal length of 50mm, it is the closest focal length to what we actually see. I made very tight overlapping images so that we had as much resolution as possible knowing that final image size needed to be so big.

And because the marketing team was going to experiment with the concepts after the fact, we had to capture as many different scenes and as large as possible. The idea was to give the feel of walking right up to the carnival. In addition, we crafted images to be used for the rest of the booth and to be used for sample material give-aways.

Technical Details:

  • Camera – Nikon D800
  • Lens- Nikkor 24-70mm f/2.8
  • Focal Length – 50mm
  • F-Stop – f/9
  • Shutter – 1/650
  • ISO – 200
  • Frames – 20 overlapping NEF files

The image was merged using Adobe Photoshop CC Automate > Photomerge. I provided a final layered PSD file to the marketing team so they could make any adjustments for layout and for printing.

Guest Blog Part II: 5 Steps to Large-format Photography

Billy Elkins

Guest blog by Billy Elkins

Large-format photography is a five-part process. In the last blog, I talked about communication being key. We will cover the five-part process and then walk through a real-world scenario that will show just how important that is.

1. Communication with the client. Ask the client how and where the photos will be used. Try to visit the location, if possible. What is their vision? Are there any restrictions to size or are there any obstacles in the way? It is our job as the photographer to gather this information.

2. Communication with the printer. Ask the printer to go over the specifications that they need from the images. Will they be building the final file? What size and type of files do they prefer? Will they be providing proofs to client before printing?

3. Create the image. You need to satisfy the clients needs, but within the specifications of the printer. Any time that all three — you, client and printer — can be together to discuss the details of the project the better.

4. Printing. My background is in large-format printing and I have seen and worked with many types of output devices and media. It has helped to give me more insight into what my photo will ultimately turn into. Having an understanding of the printing devices helps in not only image capture but preparation of the final files may differ depending on the type of output device. This part is just as important as understanding the camera, lens, and software used to create the image. Often this part is overlooked by many photographers.

5. Installation. You may wonder why that part is important to the photographer? It does several things that are beneficial. If you have never seen an installation go up, it is pretty amazing to watch. This is where all the technical parts come together. To see an image that is merged from many images on a computer screen to see being installed at full size (over 40 feet) is incredible. Seeing how the installers work and put the image together helps me envision the final product as I work on the various steps along the way.

The example below was for a large format installation at the Sarasota International Airport. The client was advertising on the back wall directly behind the baggage claim area. The final installation included wall graphics and 3-dimensional cutouts, as well as 360-degree image wraps around columns. The full wall area was 971” x 103.5”, and the image I needed to create was 415”x 103.5”.

The scope of the job was not very difficult, but I was brought in after the original photographer was not able to provide large enough files. In this case, I was contacted by the printer to see if I could create the image at the size they needed. We went over all of the details and I was given the exact location of what needed to be photographed.

Technical details:

  • Camera – Nikon D800
  • Lens – Nikkor 24-70mm f/2.8
  • Focal Length – 24mm
  • F-Stop – f/11
  • Shutter – 1/160
  • ISO – 200
  • Frames – 7 overlapping NEF files
  • Final image size – 10830ppi x 5200ppi

The image was merged using Adobe Lightroom CC Photo Merge and then brought into Adobe Photoshop to add some minor effects that the client requested.

I provided a final layered PSD file to the printer so they could make any further adjustments, if needed, for printing. The final print resolution was 32dpi. Yep, 32dpi! Click on the photos below to see how the project came together.

Guest Blog: Photographing for Wide Format and Beyond

Guest blog by Billy Elkins

As a professional photographer, I am called some days to make images of products that will be used in an online catalog. Other days I am asked to make images that will span 80 feet long by 20 feet high. Of course, there are all those other sizes that fall somewhere in the middle.

Billy Elkins

How do I jump from one to the other? How do I ensure that the images I create can be used within that vast size range? And what are some simple tips to make this possible?

As a photographer who has clients with varying image size requirements, it can be overwhelming trying to decide what settings and sizes to capture my images. So, it shouldn’t be surprising that I capture with the largest size I can within my camera. Inevitably, the one time you decide to capture using a smaller setting, the client will ask for the image that was supposed to be on their mail-out postcard to be used on the company’s new vehicle wrap. Making images large to begin with, I can provide anything smaller later, or larger later depending on their needs.

All printers have specifications for the type of printing they provide. Traditional off-set printers prefer images to be 300dpi at 100% of the printed image size. Wide-format printers have a range of resolutions that they work with depending on the viewing distance of the final print or installation. Again, they may say they prefer images to be 150dpi at 100% of the printed size (for posters or large photo displays) all the way down to 50dpi at 100% of the print size (for vehicle wraps, wall installations or billboards). It is important to understand that having just one part of that equation is not enough information.

Communication is key. And that is the most important tip I can offer. Asking the client about all the uses that the image will have and talking directly with the printer who will be providing final prints allows me to capture exactly what I need. If I know there is a possibility that an image will be used larger than traditional printing, I will approach the photography differently. I will not only bracket (capture varying exposures of an image), but I will also create overlapping images, almost like a panorama, so that I have much more resolution to allow for enlargement of the image. Knowing the final output and use, the final size, and the preferred resolution requirements ahead of time, I can be sure to capture everything I need in the beginning.

I will be talking in more detail, providing real working job scenarios for wide-format printing and the whole process from: communication, to image capture, to post-processing, to printing and installation in upcoming articles. If you have a specific question or other topics related to photography and wide-format printing that you would like help solving, please let me know and I will do my best to help.

Wide Format Photography Tips

  • Before even grabbing your camera, ask your client how large will your image need to be and for what type of application it will be used.
  • Talk to the printer to find out what resolution and file format they prefer.
  • Create mockups whenever possible so that you and your client and the printer are all on the same page.
  • When actually doing the shoot, be sure to over-shoot so that you have plenty of images to choose from especially when you are overlapping to create the largest possible file/image you can.
  • Send proofs to client as soon as possible in case you need to reshoot.