How to Make Sure Graphics Stick to Walls and Boards

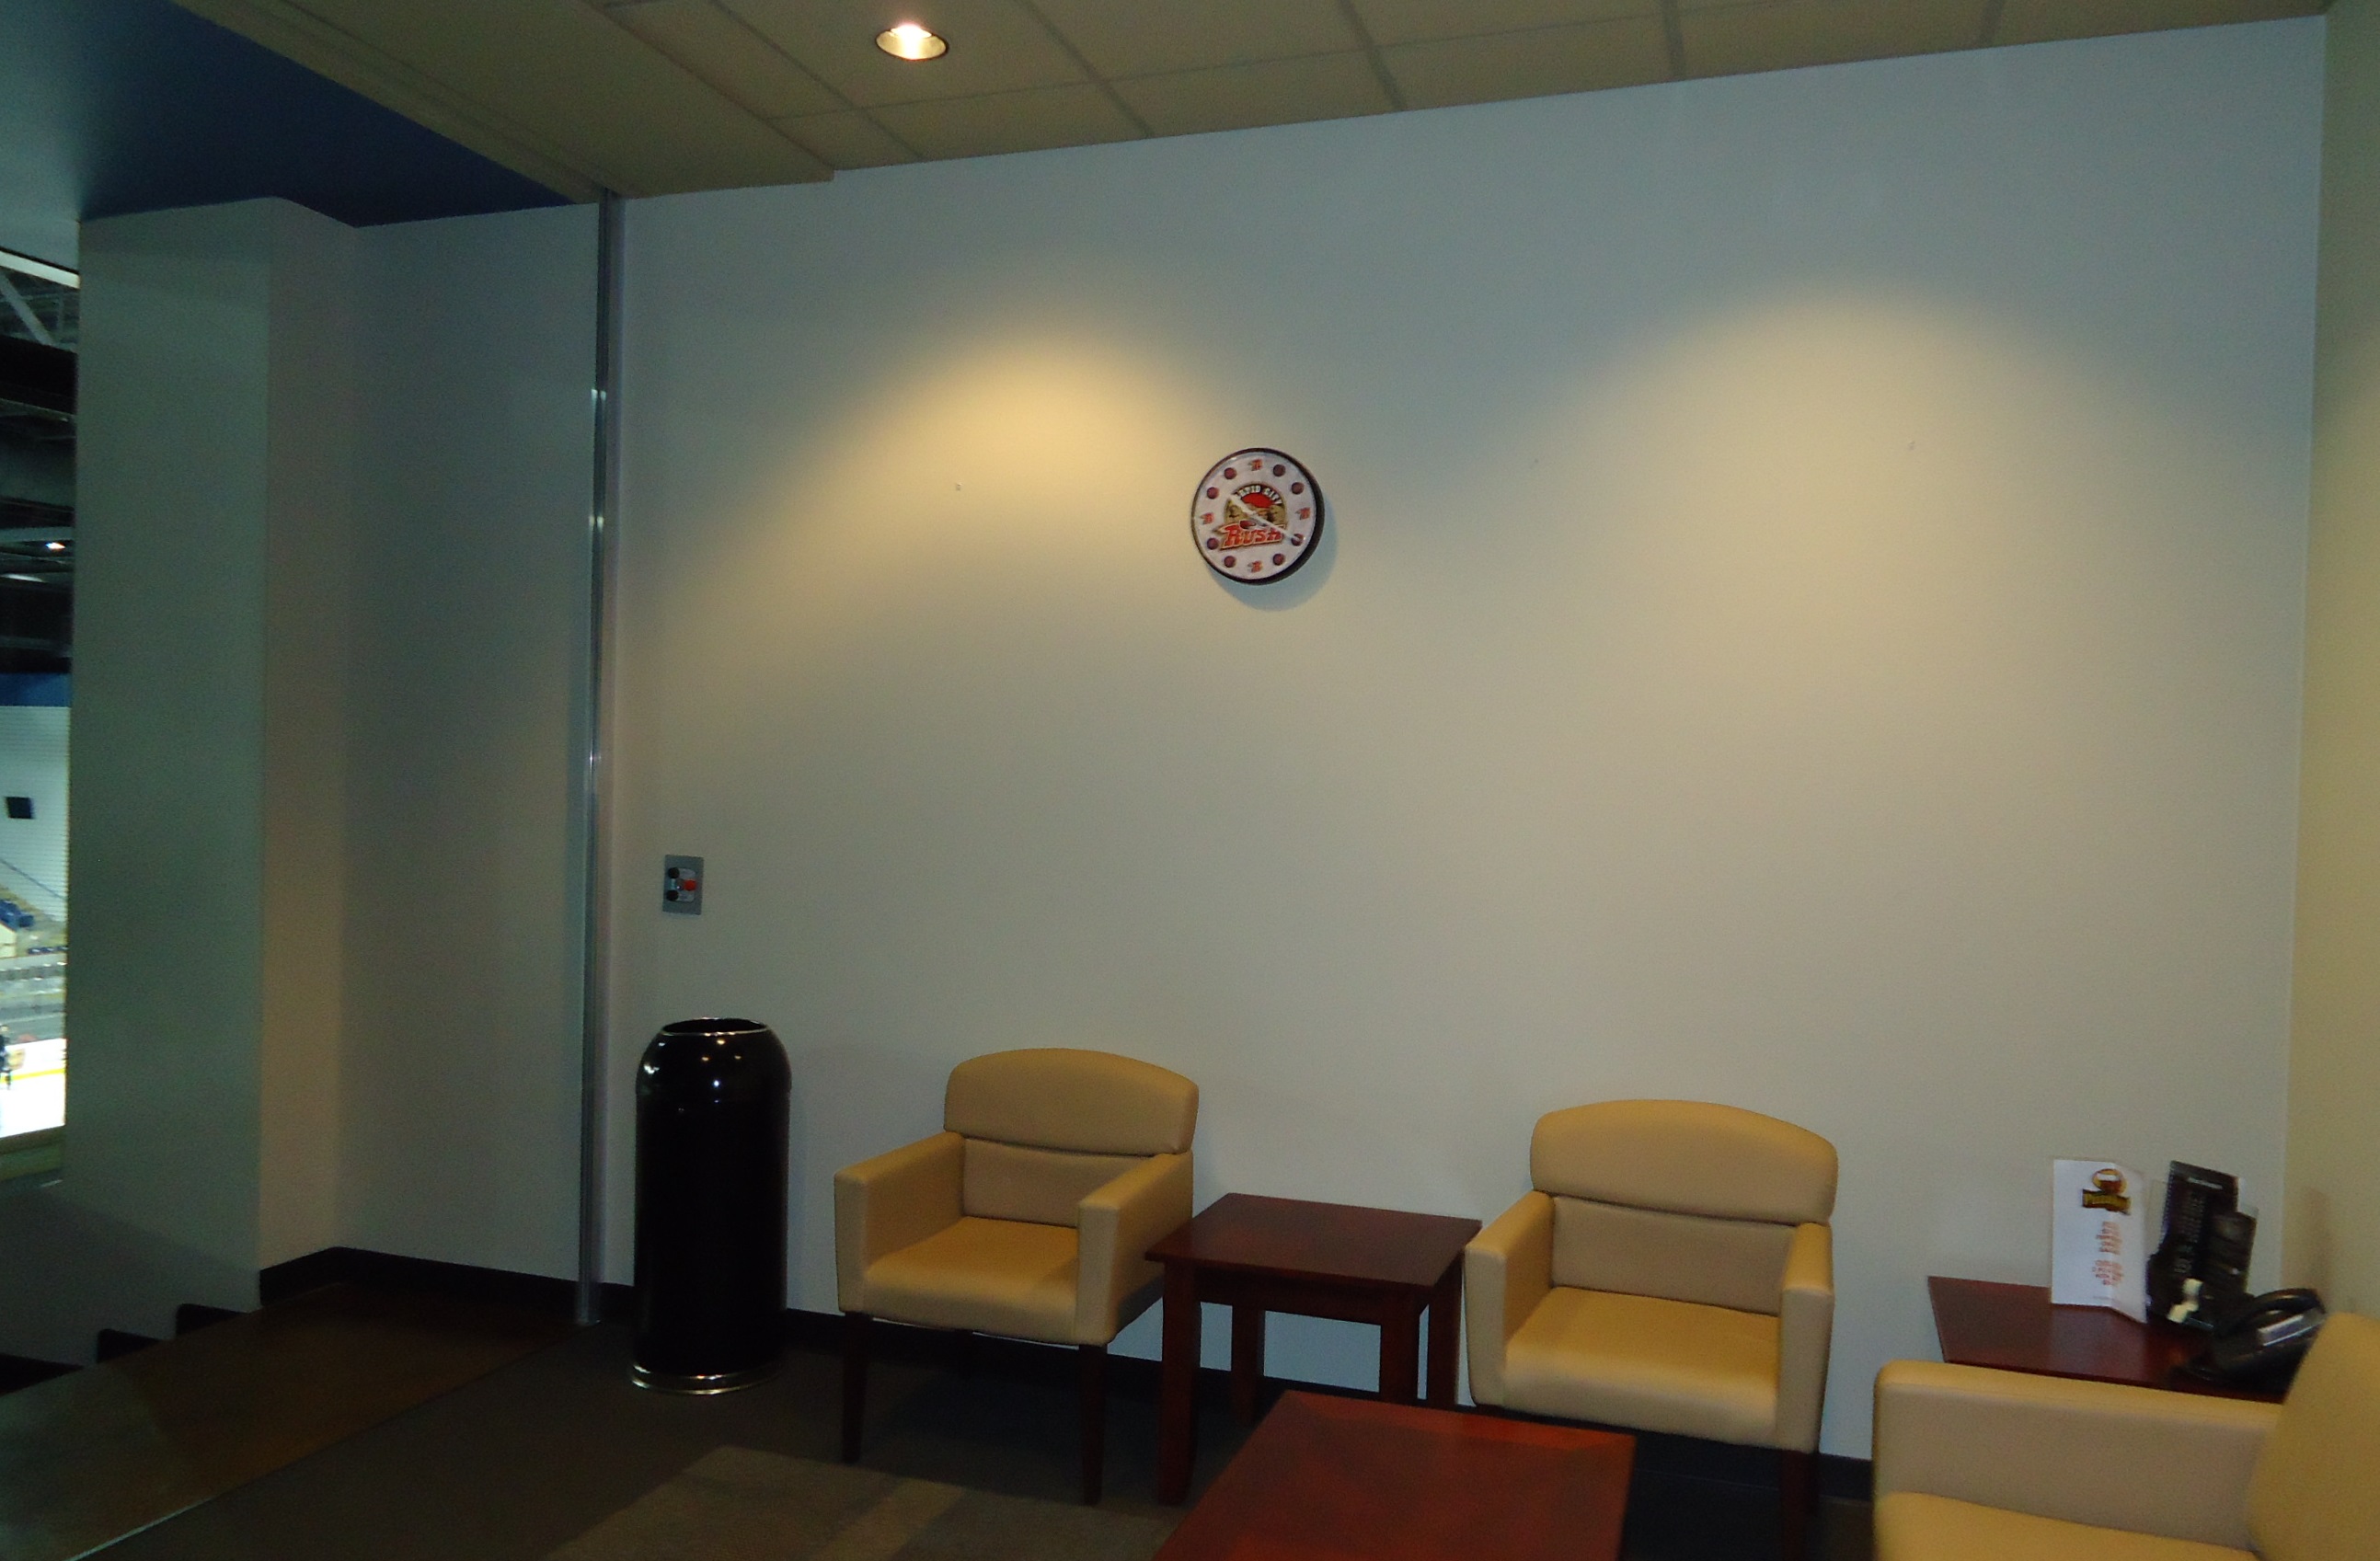
Last week we posted an important bulletin from 3M regarding the application of graphics on walls with low-VOC paints, which can cause adhesion issues during application. You should go check that out, but here’s the rest of the story for basic application guidelines on walls and other sign materials…

Applying Graphics to SignsThere are basic details that should not be overlooked as graphics are being prepared for application, and the preparation has to begin before the beginning. First, be sure to allow the ink to dry and set for a minimum of 24 hours. Then, it’s safe to apply to whatever substrate you’re using. Here, we’ll stick to flat, relatively smooth surfaces, like sign boards and barricades, rather than irregular ones with compound curves, or other surfaces like glass, carpets, and concrete.

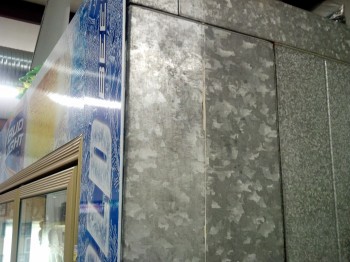
With just about any flat material – whether plastic, PVC, sheet rock or other wall materials, aluminum, or MDO – the surface should be as clean as possible. Don’t use soap, Windex, or any ammonia-based cleaners as they leave a residue that will affect the vinyl’s adhesion.

The best bet is either rubbing alcohol or other cleaners that evaporate quickly, such as those manufactured by Rapid Tac, which are designed specifically for vinyl application. Use cheap paper towels to wipe down the substrate as they’re less likely than rags, towels, or more expensive paper towels to leave anything behind.

Also, make sure the surface hasn’t been freshly painted. Installation professional Keith Bernard of Road Signs in Sarasota, Fla., says to avoid alcohol on freshly painted surfaces. “A lot of interior barricades you find at malls are drywall with a fresh coat of primer, and if you use alcohol you run the risk of smearing the paint, which will cause adhesion problems with the material you’re installing,” he says.

Some people will scuff the substrate, particularly a PVC-based material like Sintra, to create more surface area for the adhesive to stick to, but this can create ridges and pockets in the material that might actually defeat the purpose.

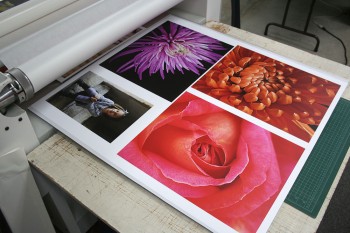
Foam boards need less preparation, but if you’re cutting them to a different size to fit the application, make sure there’s no dust on the board before you apply the graphic. If you have a laminator, use it to apply the graphic to the material, even if you’re not laminating the print. It’s a relatively quick and easy way to apply the vinyl to the substrate.

However, if you usually run rigid materials on one side of the laminator each time, the rollers will tend to wear down on that side, causing poor adhesion and de-lamination. One solution is to mix it up, and run materials through each side of the laminator and in the middle.

To check your laminator, set the nip to zero, and if there’s any daylight between the rollers it means you’re getting wear spots, or the rollers are out of alignment. Either way, it’s a good idea to regularly check this.

Once you’ve applied the graphic to the board, whether you’re using a laminator or not, it’s important to let the adhesive set for at least two hours, and ideally 24 hours, before you trim. This is especially important if you’re using a mechanical cutting tool, like a CNC router. If you’re not using a router, make sure to use a sharp blade on a hard surface, such as tempered glass. This will help eliminate any edge lift problems.

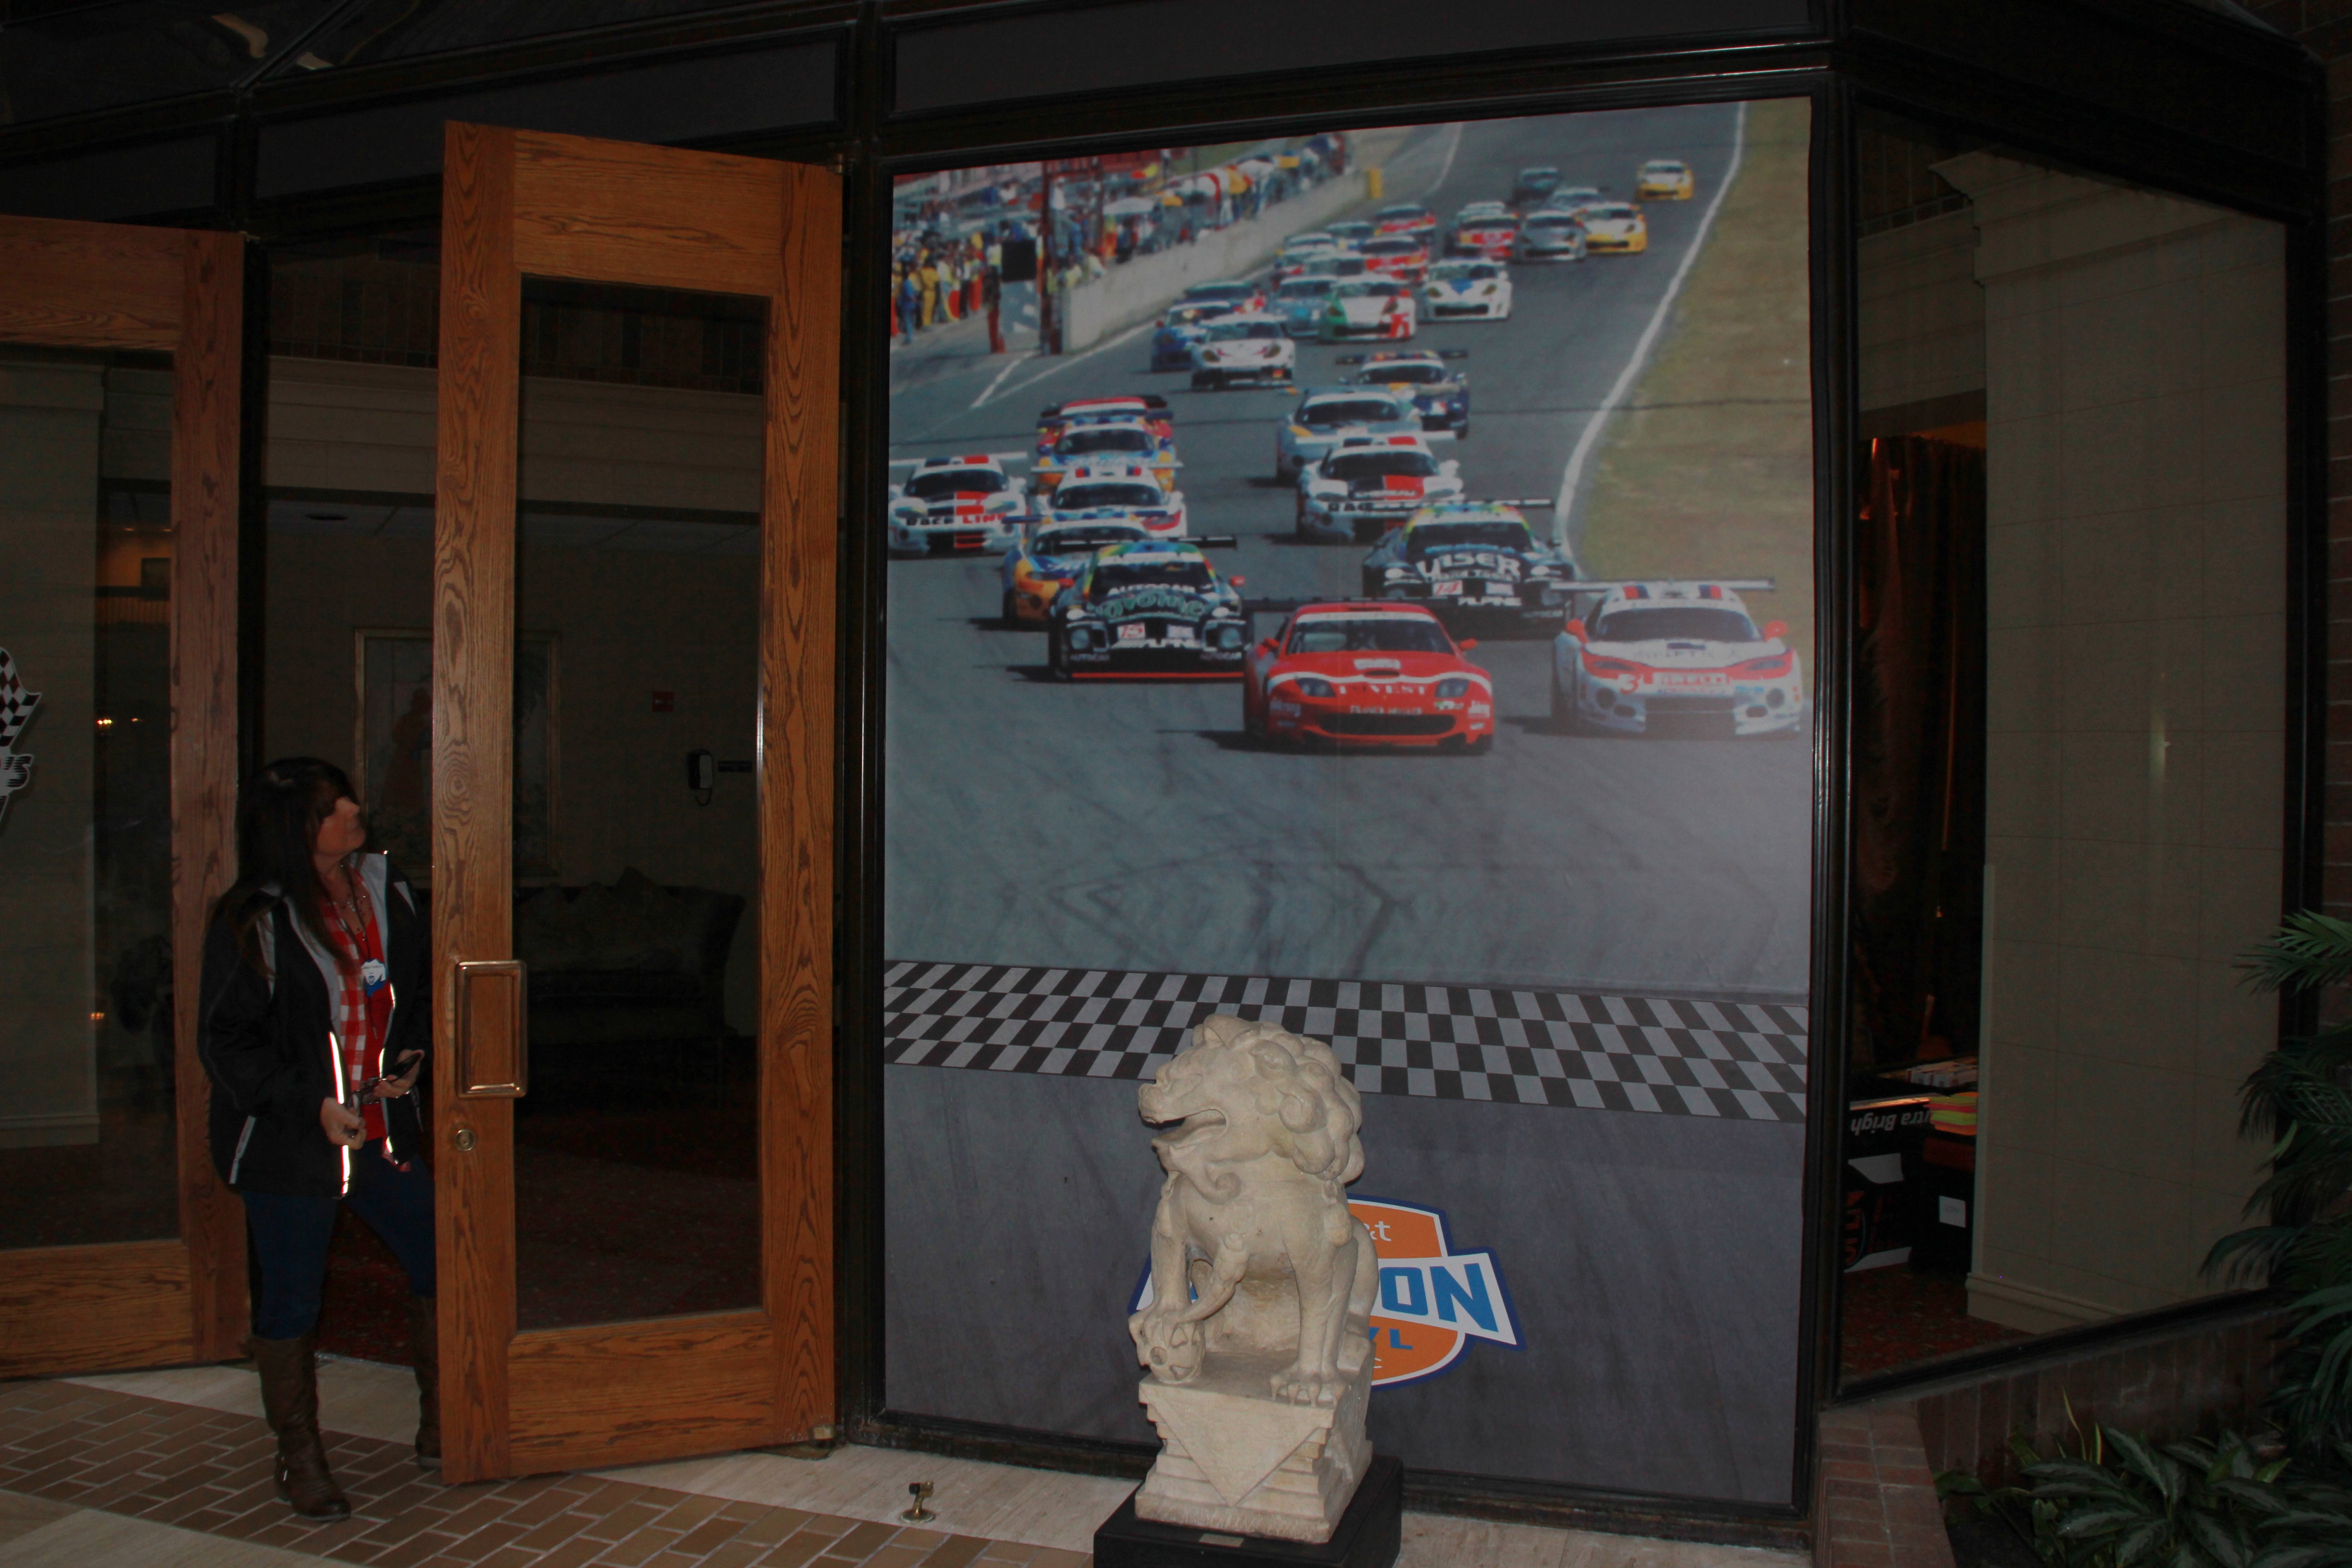
If you’re installing in the field, the same cleaning regimen applies, as well as making sure to follow the manufacturer’s recommendations regarding the best temperature range for installation. But out here you often have to deal with removing the previous graphics, such as you would with an existing sign board. In this case, bring a heat gun or a propane torch. If the board is small enough (say 4×8 at most), the heat gun should be sufficient, but a bigger flame is needed to remove larger graphics.

And, have tweezers and a pin or needle handy. The tweezers will help with small, stubborn pieces of vinyl, particularly if the previous graphics include cut vinyl lettering. The pin is for getting rid of any bubbles you might have as you apply the new graphic.

Sometimes, it’s just easier and more economical to have a professional installer do it for you, particularly for larger graphics. If someone who specializes in vinyl installation can do it two to four times faster, you might better off using the time and effort you’d spend installing doing what you do best.

Installation may be the most important component since it’s what the customer and the public ultimately see. A professional installer can make it look better and help avoid wasting material in the process.

If you need any help or advice, give one of our experts a call at 800-453-9538.

Stick to Super-Smooth Surfaces with LexJet PVC-Free Cling

Cotton Bowl Graphics

To overcome the graphics adhesion challenge of slick materials, like glass, plexiglass, metals and Formica, LexJet introduces LexJet PVC-Free Cling – White.

The new printable polypropylene material not only sticks to super-smooth surfaces, it’s also repositionable, removable and re-usable. LexJet PVC-Free Cling features the latest micro-adhesion technology to ensure easy application and removal.

Window Graphics“The AT&T Cotton Bowl Classic Bowl game at AT&T Stadium was our first opportunity to use this great new product. We had previously been using a static cling vinyl on the interior windows and doors. We wanted to give the new product a try so we used it in one of the main entrance areas. The product prints beautifully, and is very easy to apply,” says Jeff Teasley, E.H. Teasley & Co. Inc., Dallas. “This product will also enable us to remove some of the prints and take them to other parts of the building and install them again at a different location if needed. They remove very easily but still retain a lot of tack on them, unlike a static cling.”

LexJet Window GraphicsLexJet PVC-Free Cling is compatible with solvent, low-solvent and UV-curable inks. It is water- and fade-resistant and will not shrink or wrinkle. It’s also environmentally-friendly, free of phthalates, glycol-ether, formaldehyde and PVC, and can be cleaned using common household cleaners.

“LexJet PVC-Free Cling provides our customers with everything they’ve asked for in a PVC-free film for smooth-surface application: excellent adhesion yet repositionable and reusable, contour-cut capable, bubble-free during application, and dimensionally stable so it doesn’t shrink and peel off when the temperature changes,” says Jaimie Mask, LexJet product manager.

LexJet PVC-Free Cling – White is now available from LexJet’s delivery network in 54″ x 100′ and 60″ x 100′ rolls. To find out more and to order, contact a LexJet customer specialist at 800-453-9538.

Make it Stick with LexJet Foam Tape

This galvanized cooler surface was tough to stick graphics to, so Coco Beverage, Hot Springs, Ark., used LexJet Foam Tape to ensure a solid bond for this point of sale project. Photo by Cameron Biles

LexJet has just introduced LexJet Foam Tape, engineered to stick in tough spots and permanently, primarily for outdoor applications where graphics need to be applied to low-energy surfaces like painted concrete, plastics, finished aluminum, acrylics and glass.

LexJet Foam Tape is durable in all weather conditions with a double-sided adhesive that provides long-term bonding between the print medium and the substrate. It also fills the gaps in irregular surfaces, strengthening the bond, and will not fail due to temperature variations that cause contraction and expansion.

LexJet Foam TapeResistant to water, UV rays, detergents, and picky people picking at the point of sale, LexJet Foam Tape is the high-bond answer to tough-to-stick situations.

For more information about LexJet Foam Tape and all of LexJet’s adhesive products, including application advice, contact a knowledgeable LexJet customer specialist at 800-453-9538.

Run through the Jungle in South Dakota with Photo Wall Murals

Printed Museum DisplayThe Armed Forces Military Display and Gifts museum in Wasta, S.D., is more than a museum; it is a re-creation of the environments and elements in which America’s wars were fought.

The museum’s curator, Tom Rancour, goes to great lengths to infuse each display with as much reality as possible. The various military equipment and arms displayed at the museum – from the personal items soldiers carried in the field to airplanes and tanks – represent the culmination of years of painstaking collection by Rancour and items generously donated by veterans and their families.

In order to better set the scene for the museum’s recent displays that incorporate the environment in which the original equipment would be typically found, Rancour has been using Photo Tex (EX) – Aqueous Printers from LexJet for photographic wall murals.

The first wall mural depicted German field equipment used in World War II, a project we covered a couple of months ago at the LexJet Blog.

Museum GraphicsThe most recent display features equipment and uniforms typically used in the jungles of Vietnam. The wall mural printed on Photo Tex creates the jungle surroundings, as well as artificial palm trees, bamboo and a Ficus tree Rancour bought at Michael’s craft store.

“I found two jungle pictures at a stock photography site and merged them together in Photoshop so you couldn’t see where they merged. I enlarged it to eight feet to cover the corner room where the display is located,” explains Rancour. “The Photo Tex EX was easy to apply, including the outside corners, in one piece. I made sure the corners were nice and plumb and square, because if they weren’t it would be difficult to apply it without cutting the material to size. On the outside corners I peeled the material horizontally rather than vertically, which made it easier for that part of the application.”

Rancour applied the Photo Tex to five different wall sections in the corner room in two panels. The total size of the mural is about 8′ x 26′. Rancour adds that instead of taking a security sensor off of the wall, he cut around it and applied that piece to the sensor’s cover. “You don’t notice it; it blends right in,” he says.

“I used the EX version of Photo Tex because of the wall surface, which is a lightly textured eggshell. I didn’t have any problems when I tested the regular Photo Tex on it, but to be safe I went to the EX because it was a minimal extra cost to do it,” he adds.

Rancour’s next project will be a British military desert scene from World War II for which he’s currently looking for appropriate photography to use for the surrounding wall mural.

Bold, Bright Suite Graphics Light up an Arena

Wall Graphics for Branding and Advertising

Competing for the consumer’s attention is especially intense at public venues like sports arenas and stadiums. Inundated with advertising messages, not to mention the game or event at hand, it can be difficult to stand out and grab someone’s attention.

Coca-Cola Bottling Co. High Country in Rapid City, S.D., found a solution to this vexing challenge at the Rushmore Plaza Civic Center in Rapid City: a full wrap of its corporate suite in bold Coca-Cola red.

Inkjet Printed Wall Murals“When we got the suite in January of 2012 we wanted to do something dynamic that would stand out and make it obvious we were in there,” explains Holly LaGrande, marketing manager for Coca-Cola Bottling Co. High Country. “Because we were the first to wrap the inside of one of the suites it was very visible, not only because it was the first one, but because it was so bright and so red. It’s very vibrant, and I was even worried that we overdid it. However, the people at the arena like it and were looking forward to someone doing it because no one had to that point, and the beer companies followed up with their own wraps.”

LaGrande used Photo Tex PSA Fabric – Aqueous Printers from LexJet and printed the wrap in 60″ x 144″ panels. The panels were installed in the suite in two four-hour sessions, which LaGrande did by herself. She says it would have been nearly impossible to apply the graphics by herself with an adhesive-backed vinyl since Photo Tex is repositionable and thus extremely easy to apply and re-apply if necessary.

Adding Graphics to Walls
Before: What a difference a wall mural makes, as you can see in the “after” pictures above.

“First, I had to take out all the light fixtures, door stops and electrical outlets and strip everything out. Then, I started at the top on the far left and applied each panel across. I was able to pull it apart and get it re-applied easily when it bunched up,” says LaGrande.

LaGrande plans to update the graphics for the 2013-2014 hockey season in late summer or early fall and says she’s looking forward to printing the project on the new Canon iPF9400 she picked up from LexJet earlier this year.

Printing Custom Trailer Graphics in a Flash


Printing and installing trailer graphics

Alex Garcia, owner of New Wave Sign Co., Miami, recently encountered one of those rush jobs so common to wide format graphics production, particularly in the vehicle graphics niche. Fortunately for Garcia, he had access to everything he needed at his fingertips.

“The customer had a show scheduled in California and needed a trailer wrap in 48 hours. Thankfully, I had a new roll of LexJet Simple Flo Wrap Vinyl and told them I could do a partial wrap instead of a full wrap,” recalls Garcia. “And, since LexJet is able to deliver products to us so quickly I can turn a rush job like this around without having to charge extra. I was low on ink and fortunately I was able to call the order in to LexJet and I got the ink right away.”

Garcia was able to print right away, sending the design he created to his Epson Stylus Pro GS6000 low-solvent printer, then laminating the Simple Flo Wrap Vinyl with Simple Flo Wrap Gloss UV Laminate (2.4 Mil).

“The truck was white so I incorporated that white space into the design. The printed area is a line that’s about 52 inches tall that grows into three vertical panels. I also printed out the logos that were placed in the white space and contour cut them on my Summa cutter,” explains Garcia.

Though this was not a “full wrap” by definition, meaning that the graphics were not applied around the edges of the back and front of the trailer, it sure looks like a full wrap. Garcia and his team began applying the printed panels at 2 a.m., working through the wee morning hours to complete it in time.

“We washed the truck really well so that the white areas would really shine and to make sure the installation went smoothly. However, it was a challenge because we were wrapping in really cold weather, which is unusual in South Florida, even this time of year. We used a propane torch and heated the whole side of the truck to make the application surface warmer and kept the material in a car with the heater on to keep the graphics at room temperature,” says Garcia. “We love the Simple Flo Wrap Vinyl because it images nicely, it’s economical and it applies easily.”