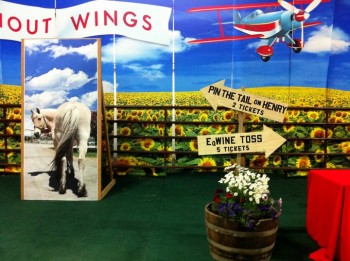
 Printing and assembling 84 panels, each one 12 feet long and 42 inches wide, might seem like a grueling task, but it was one Vickey Williams of Mountain Dreamworks in Ketchum, Idaho, was more than up to.
The panels were hung along the length of two walls at the Sagebrush Horse Arena in Hailey, Idaho in honor of the Sagebrush Cowboy Ball on July 7, a fundraiser for the Sagebrush Equine Training Center for the Handicapped (SETCH).
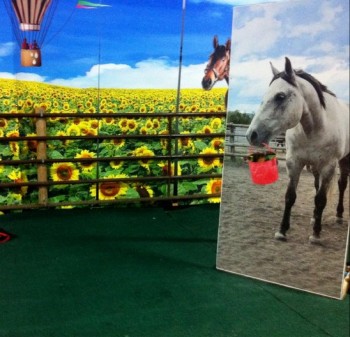
Once installed, the panels created a full-length mural. Williams worked with the party planners to create the backdrop using stock photos of horses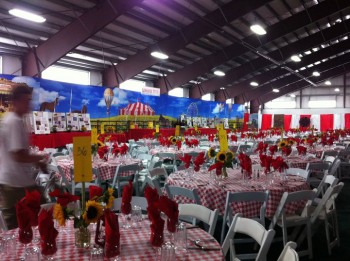 scattered around a sunflower-filled carnival theme.
Though the impressive outcome was certainly worth it, as was the $450,000 SETCH raised from the event, it was a time consuming project. Williams did all of the printing on her Canon iPF8100 using LexJet TOUGHcoat Water-Resistant Polypropylene, to which she credits much of the success of the project.
“That material made it so much easier to deal with a project this size, because it doesn’t tear, and it doesn’t seem to wrinkle all that much. Plus, the Canon will print borderless so I didn’t have to trim the unprintable area of the print,” says Williams. “We used LexJet Heavy Duty Banner Tape to create the hem pockets and make it easier to install, so I was able to do the whole job myself.”
Williams contracted a cherry picker to help with hanging the panels on-site. “Basically, we got into mass production mode at the shop, printing the panels and then stapling wood lathing in the top and bottom hem pockets so it would stay put, and drilling holes in the top hems. That way, all we had to do when we got there was unroll it and zip-tie it to a wire that went horizontally around the whole arena. They hung like drapes.”
 Williams admits that a project of such large volume might have been a nightmare if she didn’t have just the right combination of printer, print media and support from her LexJet customer specialist, Michael Clementi.
Her own personal skills and innovation played a key role, but Williams says that calling Clementi and sharing the scope of a project was equally important. “I may have been able to do most of this job myself, but in reality it was a group effort. Michael learned about what we were trying to accomplish and recommended the perfect material for the job,” she says.
The short video below was taken during the installation of the panels…

 Ross Lowell