By Eileen Fritsch
 Compared to the number of books that have been published on digital photography and Photoshop, relatively few books have been written on inkjet photo printing. Even fewer guides have been published about how to mat, mount, and frame inkjet prints for display in an exhibition or gallery.
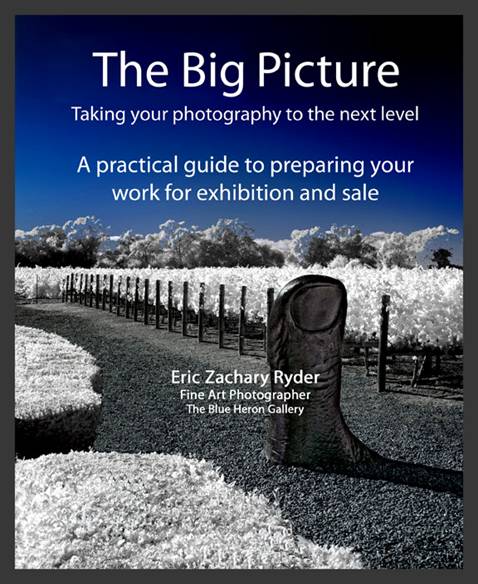
That’s why I was intrigued by a self-published book entitled: The Big Picture: Taking Your Photography to the Next Level. Many of the mounting, framing, and marketing tips featured in the book will be well-known to photography pros who have been selling their work for a long time.
But this book was written by Eric Zachary Ryder, a self-taught photographer in California who recently spent thousands of dollars and hours making the journey from hobbyist to professional photographer. He now sells his work for a solid profit and has a permanent presence in a well-regarded gallery in the Napa Valley and several other venues.
He admits that he wasted a lot of money because “I didn’t understand the business. I invested in the wrong frames, mats, glass, etc. I also took forays that I shouldn’t have: shortcuts, cheaper materials, and paying someone else to do work that I could have done myself if I’d only known how.”
“It’s funny how you don’t think of ‘production’ when you think of selling your work, but it’s extremely important,” observes Ryder. “It’s not just a matter of simply having nice images; it’s presenting them in a way that is appealing, yet inexpensive to produce.”
Until he was invited to sell his prints in the gift shop of a local winery, he says he hadn’t ever given much thought to issues such as matting, mounting, framing, and marketing. The information he found from various online sources was confusing at best.
So now that he’s successfully selling his work, Ryder decided to publish the techniques that have worked best for him. He explains how to mat, mount, and frame 8 x 10 and 16 x 20 prints and discusses topics such as finding your style, creating title cards, pricing your prints, buying print racks, and transporting your work. The book includes links to sources of the products he has used, including mats, gallery description card holders, art cases, print racks, and shipping tubes.
Ryder says some of the biggest mistakes he made were in choosing the wrong frames and mats: “Getting the whitest mat is critical—at least for my work. But there are a zillion ‘whites’ out there.” Here are a few of his tips on matting the framing:
Try to standardize on a few print sizes so you can buy mats in volume and at a discount.
Use a mat width (border) that is appropriate for your print size. “Any prints bigger than 11 x 14 in. should have a mat width of 4-1/2 to 5 in. on all sides,” advises Ryder. “Prints smaller than 11 x 14 should have a mat width of 2-1/2 in. or less. I use a 1-1/2 in. mat width for 5 x 7 in. prints, and 2-3/4 in. for 11 x 14-in. prints.”
For black-and-white prints, use black frames with white mats. “When I experimented with other options, the frames looked great, but too many people already had walls full of black-and-white prints with black frames and white mats,” says Ryder. “Adding one of my framed prints to their collection would mess things up.”
Sign the mats—in pencil. “I tried all kinds of things to avoid ruining the clean lines of an unsigned mat,” says Ryder. “ It turns out that people like signatures on the mats. I tried putting a white border on the photo itself and digitally titling and numbering the picture in Photoshop. This wasn’t good for large pictures, because as one client said it looked like a poster. But I found that it was actually good for 11 x 14-in. prints in a 16 x 20-in. mat.”
Consider using metal frames instead of wood. “Metal frames these days are quite nice, and hold up very well,” says Ryder. “They don’t require any special equipment to assemble and you save quite a bit of money by doing the frames yourself.”
You can view sample pages and a table of contents on Ryder’s website and order it as either a printed book or an e-book.
I don’t know if Ryder ever came to LexJet for advice during his journey from hobbyist to professional. But if he had, a LexJet account specialist could have helped him save time and money. In addition to setting him up with a great pro-model inkjet printer and efficient, cost-effective workflow, LexJet could have shown him some of the products in the Framing Made Easy collection.
LexJet’s community of customers includes hundreds of self-taught photographers who print their own work and sell it at art fairs and galleries. When a LexJet account specialist learns about something that worked well for one customer, they take note of it and recommend it to other customers who may be facing similar issues. We also routinely publish artwork-production, display, and marketing tips in LexJet’s In Focus newsletter.
To talk to an account specialist, call LexJet at 888-873-7553. Or, subscribe to LexJet’s In Focus newsletter.
