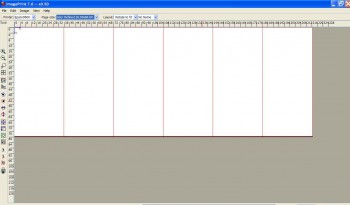
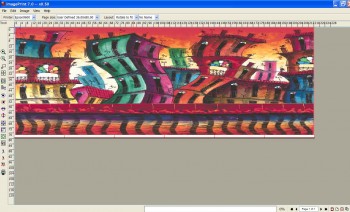
There are two methods for tiling images to create a large display. First, you can use software like Adobe InDesign, Illustrator or Photoshop to crop the image down into individual sections for print. However, the easiest and most efficient way I have found to do this for printing is in a RIP software.

Tiling is a pretty common task for the signage industry, so RIPs for that industry seem to handle tiling best. If you’re running Onyx, for example, you have a lot of control over how you tile large images.
ImagePrint, which is more geared toward photographic and fine-art printing, has a more simplistic version of tiling that will also allow you to perform this task. Think of the sign industry RIPs as more industrial for large production runs, and ImagePrint as more custom, for shorter runs in a photographic/fine-art workflow.

Either way, a RIP will make all the difference in the world for the quality of your images, and the efficiency and profitability of your workflow, including tiling large images together.
