Let’s Go: Navigating our Industry as Businesses Re-open

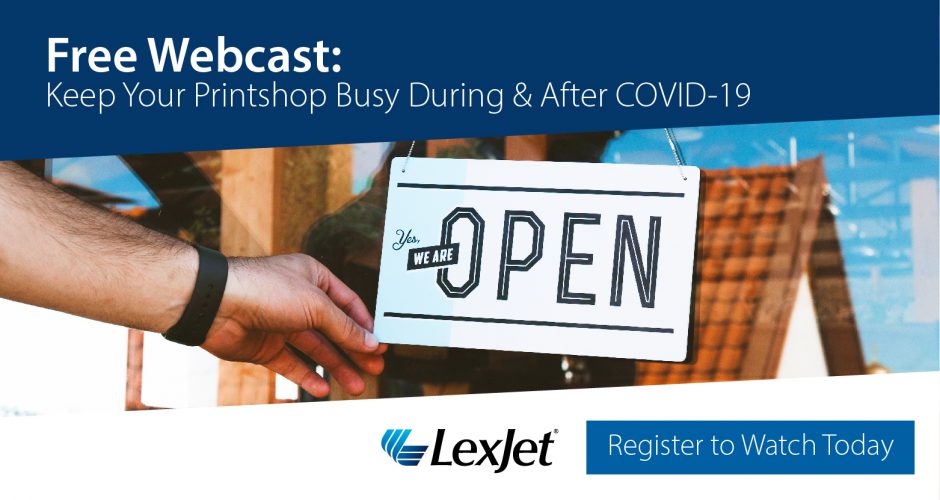
Last month, we gathered several LexJet sales representatives to discuss what they heard in the market as some of their customers and non-essential businesses started shutting down for quarantine.

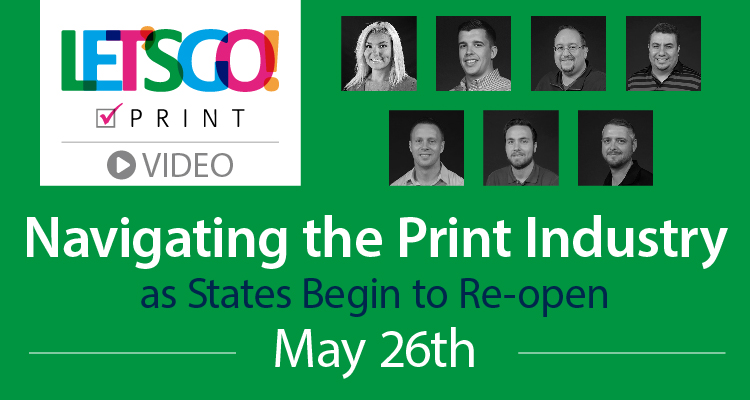
Now, as states begin slowly opening for business, we want to bring these familiar faces together again to discuss ways you can prepare your printshop for a return to normal business and how you can help new customers who will be looking for new ideas such as floor graphics, safety shields and other products that will help with CDC recommendations and compliance.

During the webcast, we discuss:

  • Following CDC recommendations for re-opening
  • Different print applications needed
  • Preparing equipment for increased workload after an extended shutdown
  • Help people who are new to the graphics industry
  • Social distancing applications and other market segments
  • Communicating with your customers
Watch the Webcast  Now!
If you have any questions for our panel, please call 800-453-9538 to connect with our team. We are here to help as businesses start to reopen, so please reach out to us.

Tips for Printshops Before & After COVID-19

We gathered a panel of LexJet team members and asked them to share what they’ve been hearing in the market, along with tips and ideas to help printshops continue to operate, help their communities and weather this storm.

During this free webcast we discuss:

  • Using print to help your communities and collaborating with your peers
  • Marketing ideas to share with your customers
  • Material availability and inventory
  • Have downtime? Use this time wisely to be a step ahead
  • Best business practices for your company
  • Communicating with customers

Watch the Webcast Now!

If you have any questions for our panel, please call 800-453-9538 to connect with our team. We are here to help during this unprecedented time, so please reach out to us. Stay healthy, and let us know how you’re doing!

Finish Soft Signage Fabrics Like the Pros

With the heavy retail season upon us, you’re likely getting more requests for fabric banners and displays these days. Retail outlets often prefer the elegant, lightweight drape that fabric signage offers, as opposed to vinyl, for instance, for banners, hanging signage, table skirts and more.

LexJet Poly Select Medium used for hanging posters.

However, when it comes to fabric signage, finishing needs can vary from fabric to fabric, since some cut cleanly and others may fray. Watch the video above to learn how to test your fabric, and which ones can simply be trimmed with a knife versus those that need a tool such as a heating knife to keep the weave from unraveling.

We offer a wide range of printable fabrics for a variety of print technologies:

For Aqueous

HP Light Fabric used for retail banners.

For Latex

For Solvent

A popular finishing option for printed fabric signage is pole pockets. Watch the video below for a fast, easy and professional result:

Pro Advice: Keys for Trade Show Printing & Installation Success

Preparing for a trade show project requires a lot of planning, from site inspections and product choices to printer setup and installation. In the video above, trade show printing and installation pro Keith Bernard of Now That’s a Wrap, shares his advice, stemming from years of experience, including:

  • Booth sizing
  • Site inspections
  • Product choices
  • Printer and media settings
  • Installation success

He highlights the key steps you should take when planning, creating and setting up the display so everything goes smoothly from start to finish. For example: “You’ve got to talk about whether the graphics will be used inside or out,” he says, “and what could potentially damage the display, fade the ink or could have issues with glare.”

Asking your customer the correct questions will ensure their graphics stand out above all the competition. Taking the time to get the right team members in place and planning ahead will allow your customer to focus on their business at the show, while their graphics are performing seamlessly in the background.

Pro Advice: 3 Top Tips for Installing Long-Lasting Window Graphics

Windows present an opportunity for high-impact advertising space. They also make the first impression for customers entering a place of business. Battling the elements, like rain and dirt, can really take a toll on how printed graphics look on a window, especially when using a perforated media.

In the video above, we tapped long-time printer and installer Keith Bernard of Road Signs in Sarasota, Fla., to share some tips and tricks he’s learned over the years while printing and installing window graphics. For example, the need to use a laminate with a perforated vinyl.

“If you ever look at the holes during a rainstorm on a non-laminated window perf, and they fill up with water, you can’t see out because of the water that’s built up in there,” says.

In the video, he offers his top tips on how to print and finish perforated window graphics, and other options for clean, long-lasting, vibrant window displays.

These three products are featured in this educational video:

How to Get the Right Size Print in ONYX

We’ve had customers who find that printing the exact right size print isn’t as simple as it seems. If you have ONYX as your RIP software, here’s how you can ensure you get the exact right width and length you want…

Media Manager in ONYX
Media Manager: click on the image for a larger version.

In ONYX, the Scale Adjust option is available in Media Manager when creating a new media profile or editing an existing one. This option is accessible during the Basic Mode Settings step.

Basic Mode Settings in ONYX
Basic Mode Settings page and Scale Adjustment button: click on the image for a larger version.

To scale the width of a print, set the desired width and click on the Print Width Adjustment button. This will send a scale target to the printer you can measure. Then, enter the actual width of the target in the Measured field. The scale will then be adjusted for you. You can repeat this procedure for the height option as well. This option is useful if all of your images are printing consistently at a certain scale off from the original size.

Print Width and Height Adjustment in ONYX
Print Width and Print Height Adjustment: click on the image for a larger version.

When you enter the measured value it should change the scale value listed from 1 to the new scale value. For example, entering 35.5″ for the measured value when the desired value is set to 36″ would change the scale value to 1.014.

Any new job you open and RIP will use the new value. The adjustment is made at the end of the RIPping process when the image is placed in the queue. For example, if you were to RIP an image that is 100″ in height, the image height would change to 101.4″ when placed in the queue.

Adjusting the scale value of a media’s print mode will not affect jobs RIPped before the adjustment was made. You will need to open and process a new file for the scale adjust setting to apply.

We hope that helps, and if you have any questions or need help with anything, give us a call at 800-453-9538.